Building a custom desktop monitor for retro computers, part 1
I’m a collector of computers, mainly retro Macintoshes, but also tiny SoC computers and old laptops. Space is limited, and I can’t have CRT monitors lying around for every old computer I have. To save space, I wanted a single display that I could use for all my old macintoshes, and if needed use it with SoCs like the NextThingCo C.H.I.P. or Raspberry Pi. From DIY videos on youtube, I got the idea to build a custom desktop monitor from a salvaged, Clinton-era laptop display panel. I had some specific requirements:
- 1024x768 resolution for old Macintoshes
- VGA port for old Macintoshes
- Composite video for C.H.I.P
- HDMI for modern computers
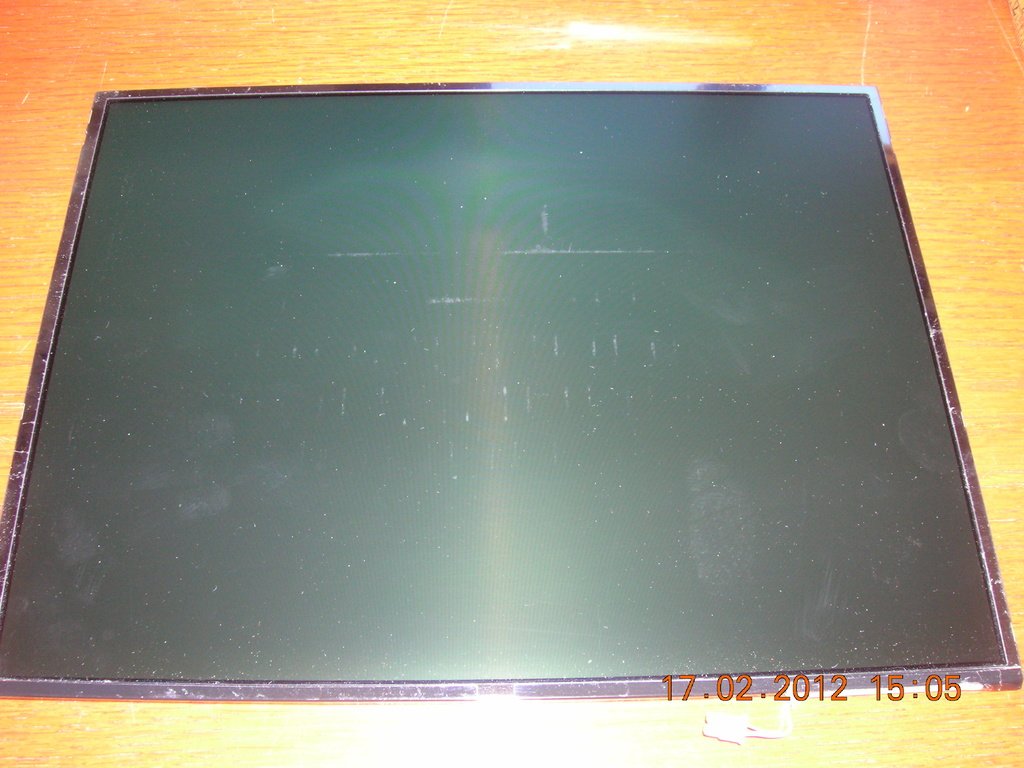
The first requirement was met with a display panel I found on an auction site. It was from a 2005 Fujitsu Lifebook.
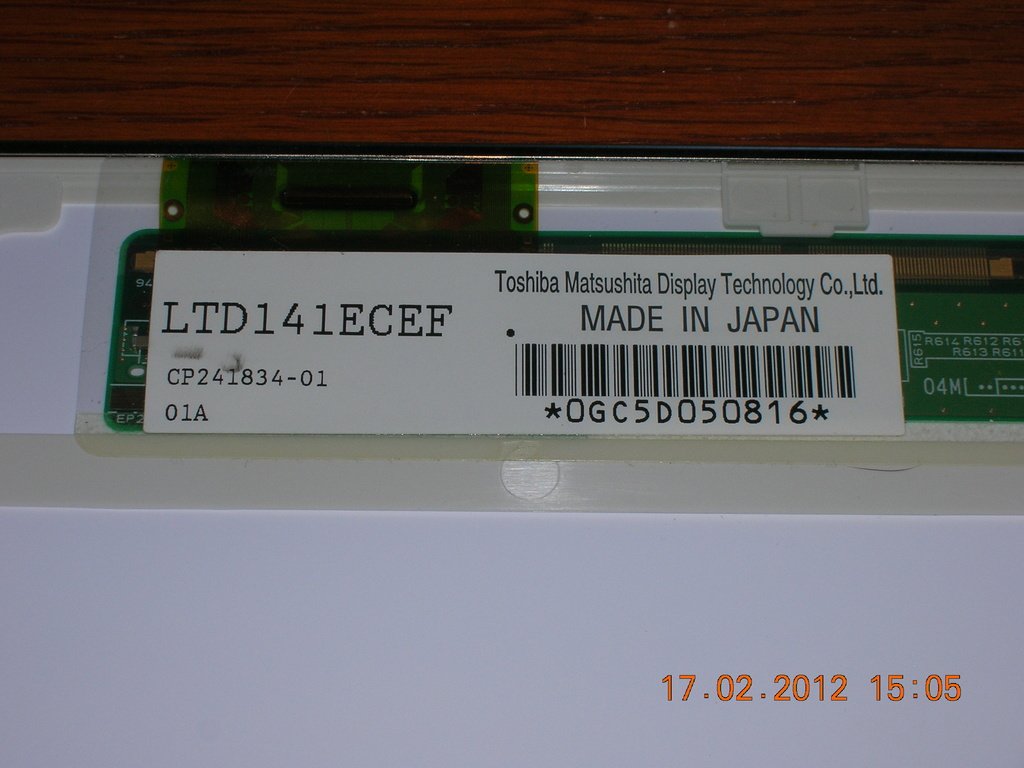
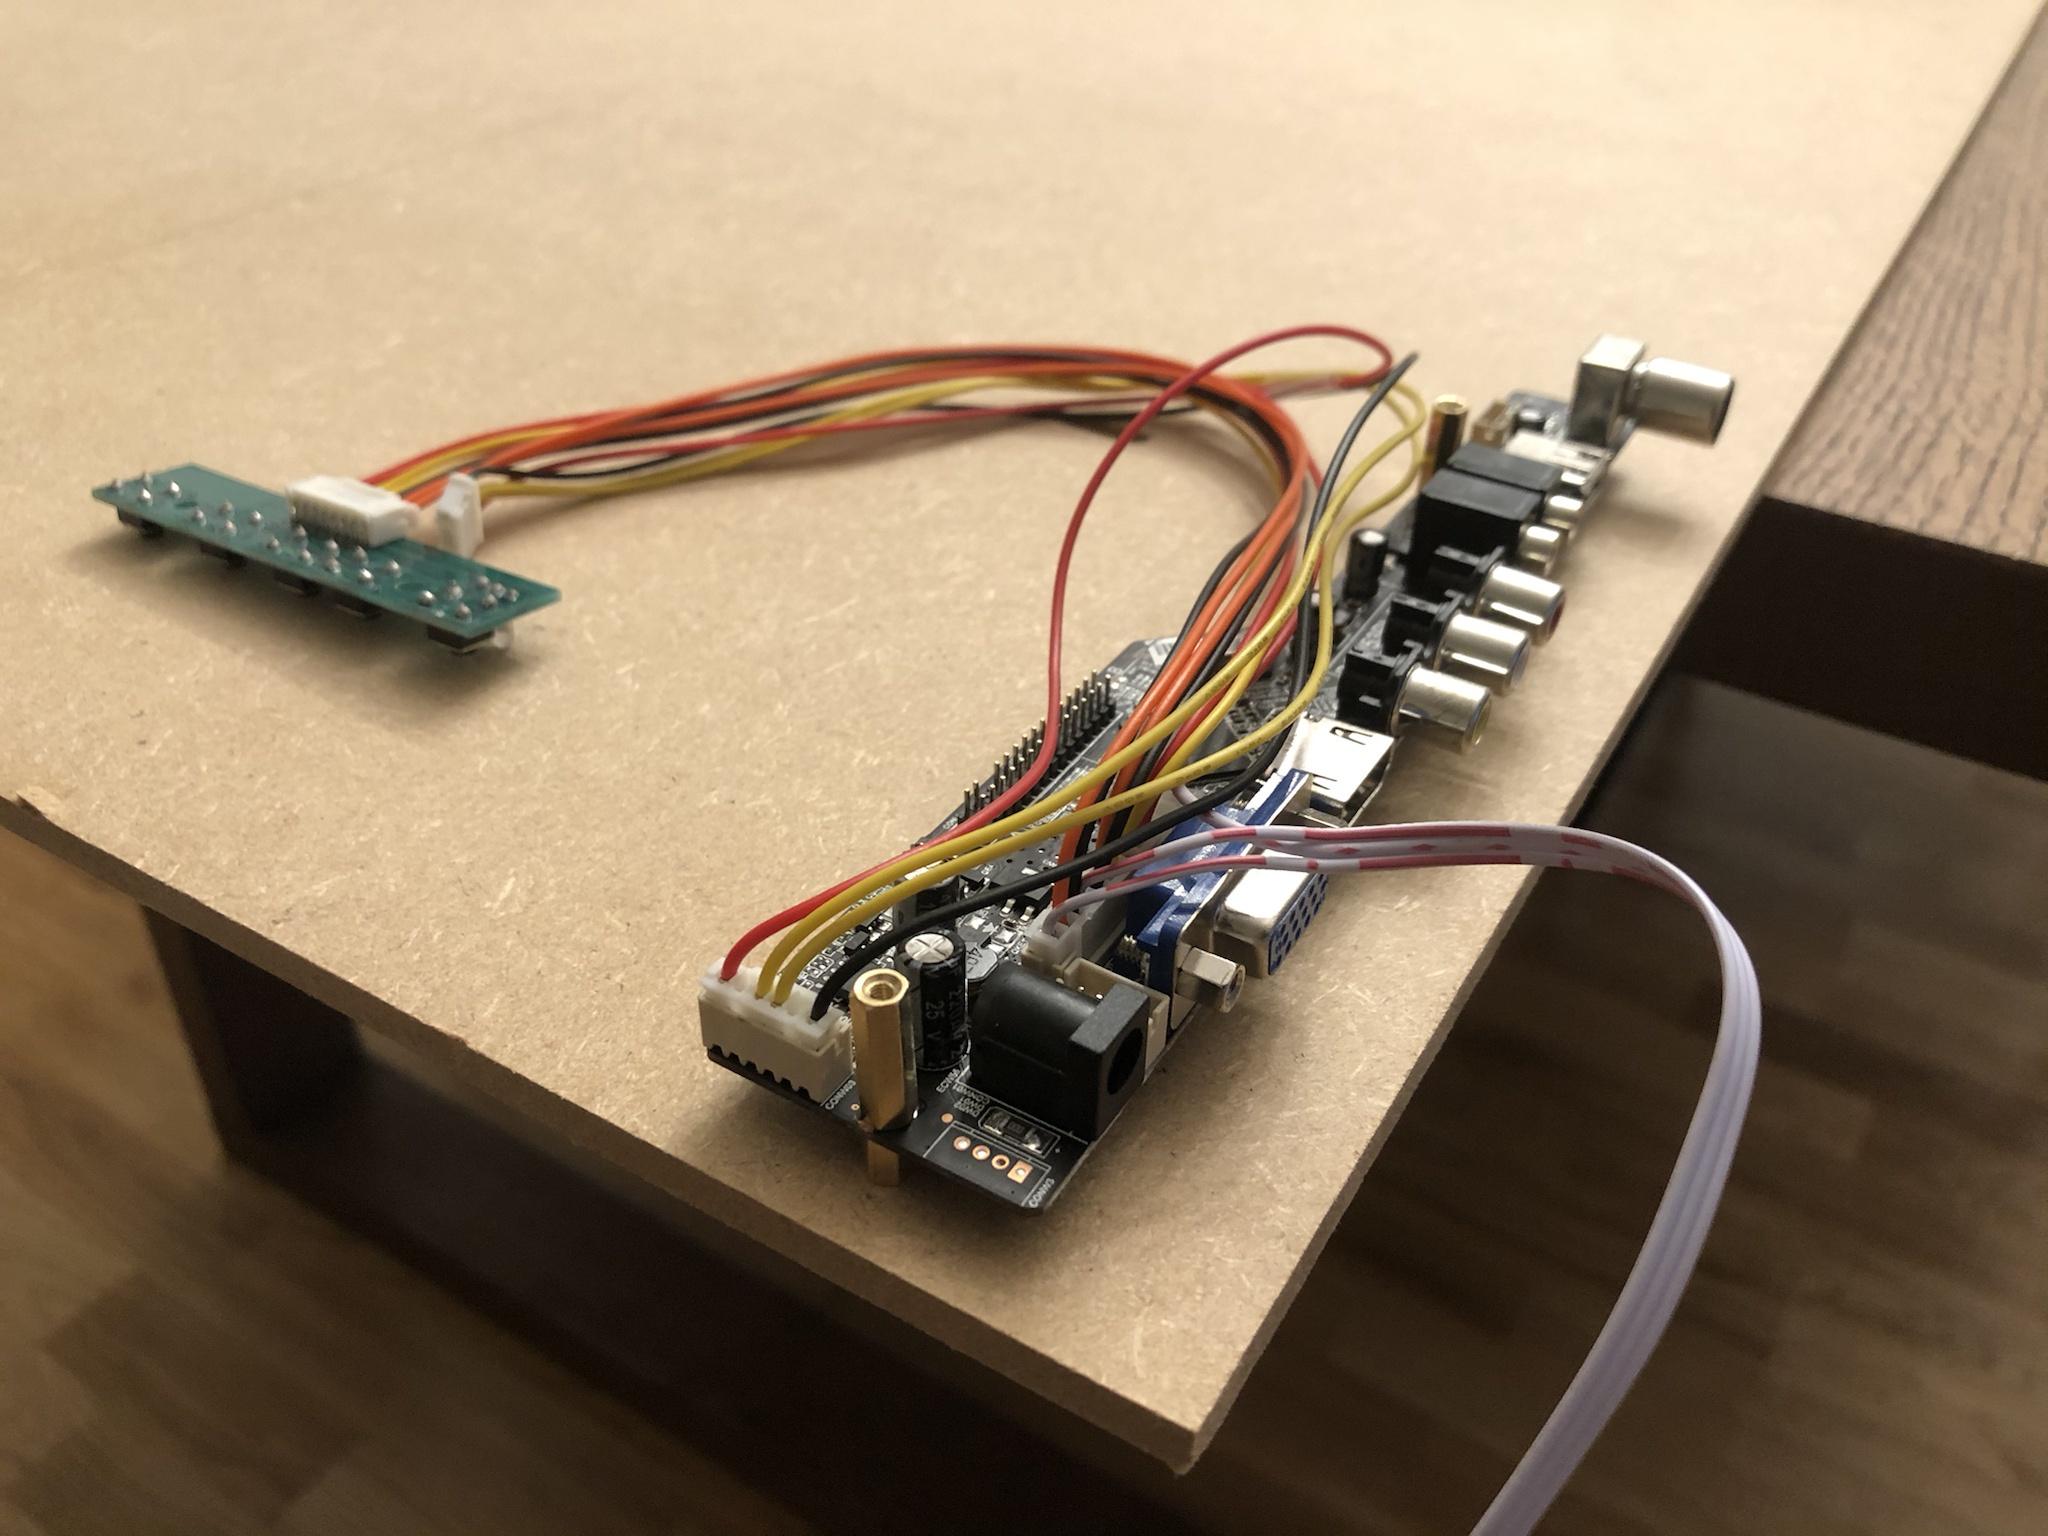
The second step was to find a display adapter circuit board that could power the display and provide the required interfaces. Luckily, there’s a chinese company that can build custom display adapters very cheaply on ebay. Using their form, I ordered a display adapter for this specific display panel, with the 3 ports I needed. After a few weeks of waiting, a perfectly working display adapter arrived, consisting of a display driver board with all the ports, a power supply board, a board with 5 buttons to control the menu, an IR receiver, a remote (!) and a power brick with EU plug. I got a lot more than I asked for, the adapter is basically a the inside parts of a television set.
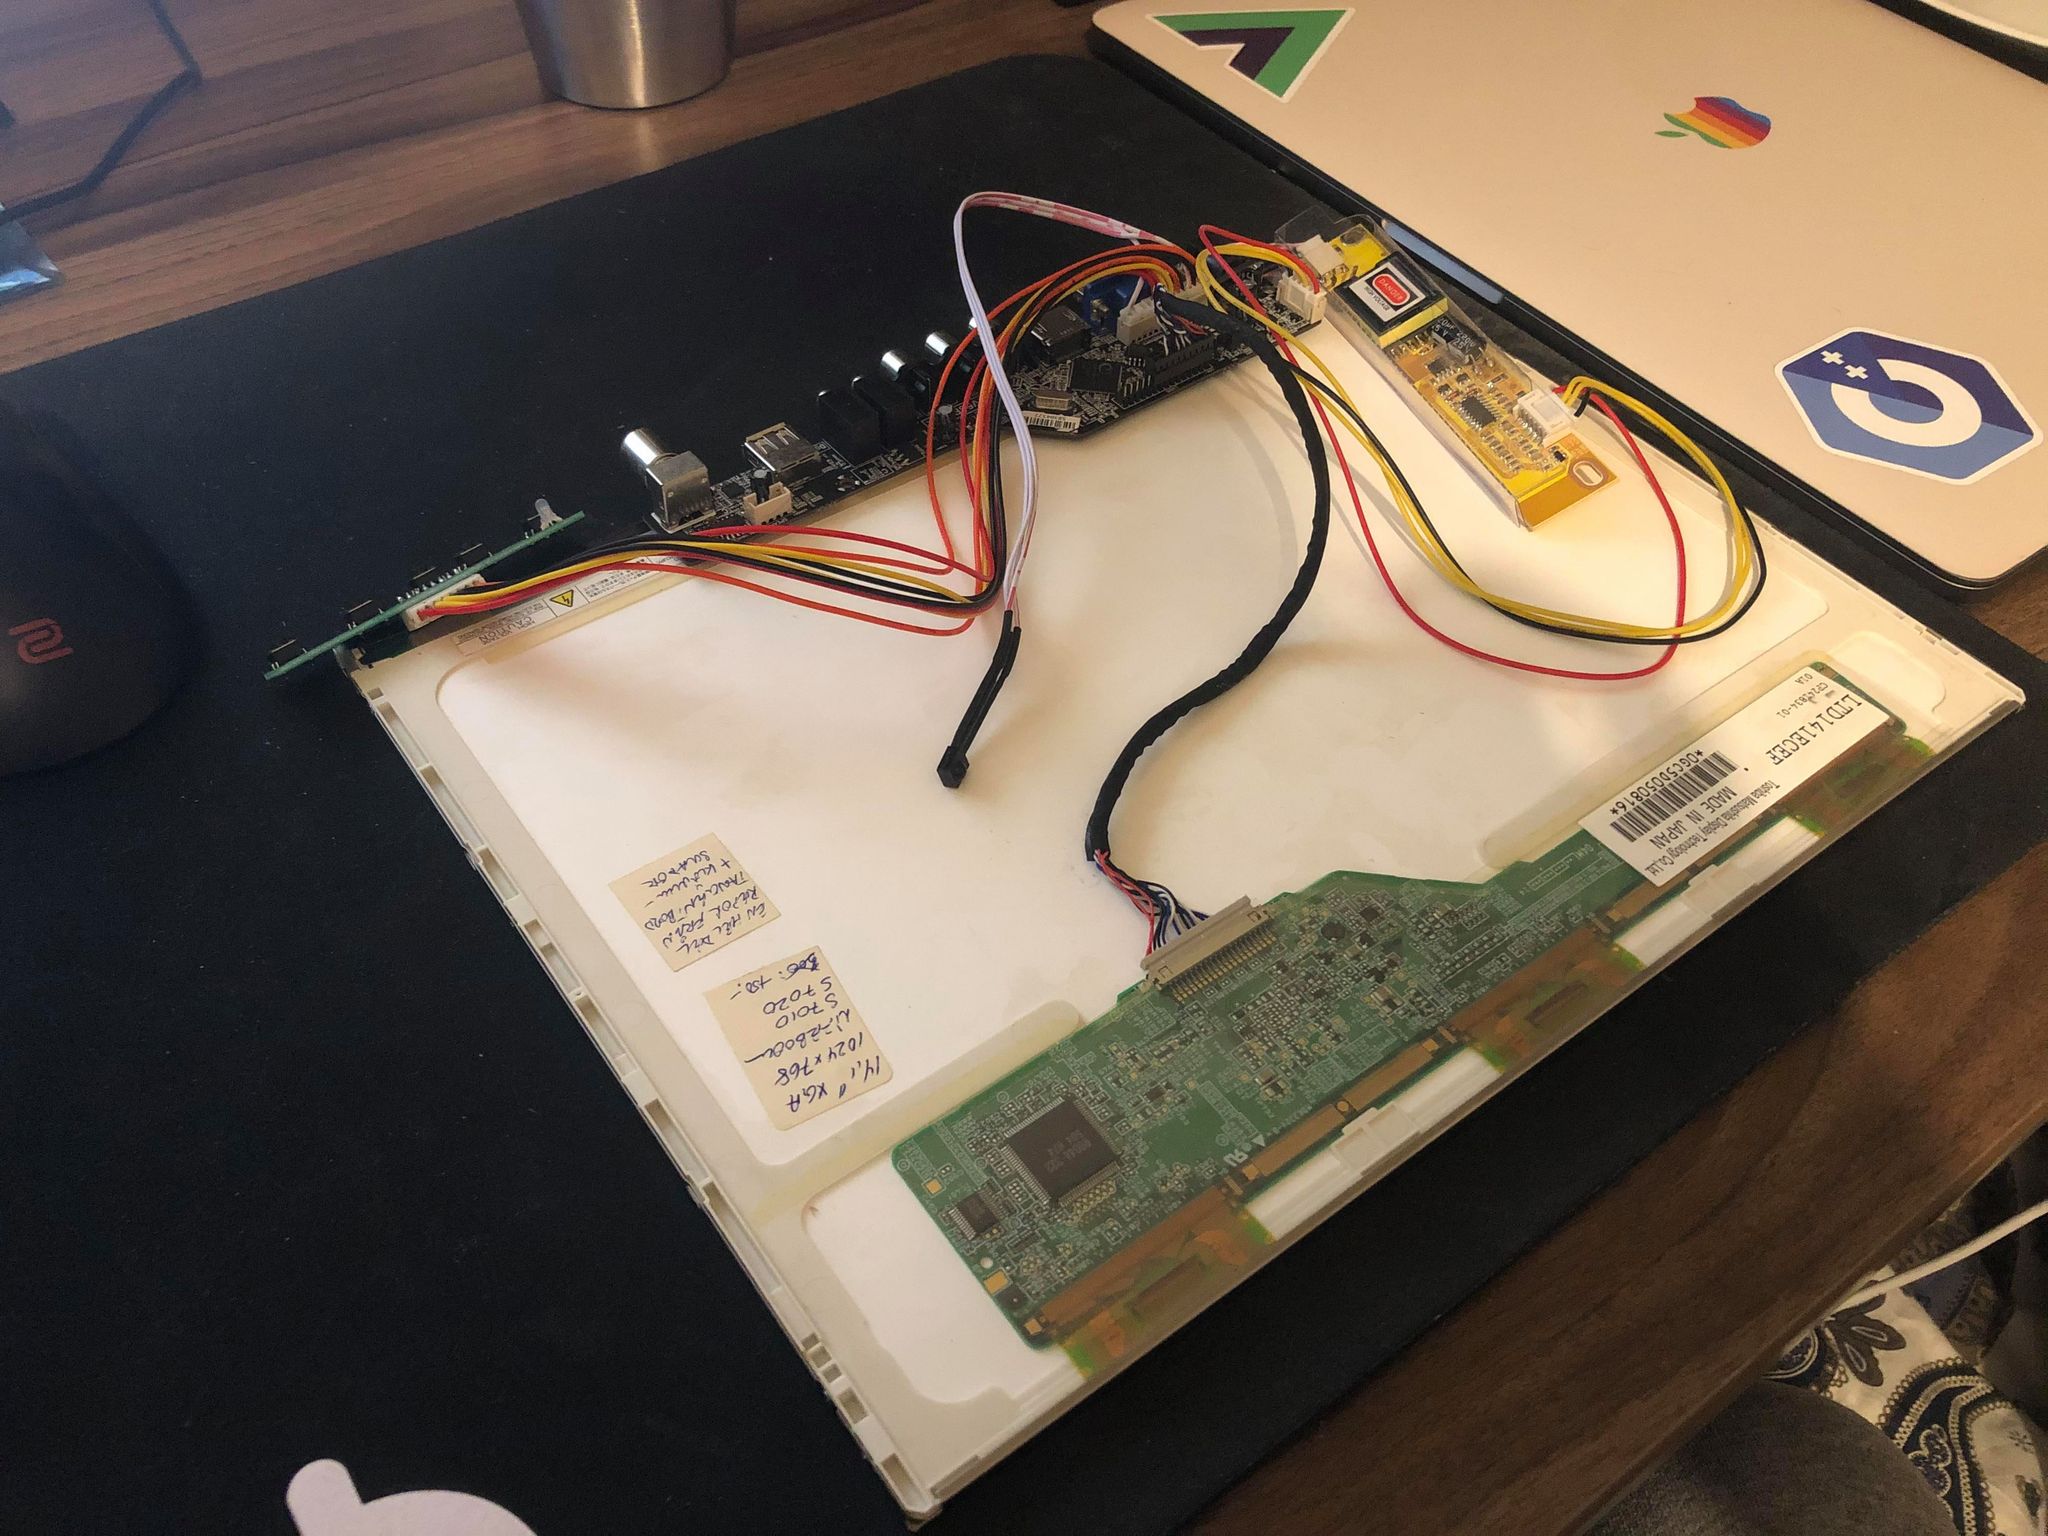
Now I needed a way to mount the electronics onto the display panel so I didn’t have loose cables and exposed circuitry. And without a means of having the display stand upright, it is unusable. So I needed a case and some sort of stand or VESA bracket solution. Inspired by DIY Perks on youtube, I bought an MDF (medium density fibre) board from a local hardware store , a set of M2.5 screws with brass standoffs, and started measuring and marking dots and lines with a pencil. I’m no Tim Allen but I did an OK job. The idea is that you drill holes on one side of the MDF board for countersunk screws (so the screw heads don’t extrude from the surface), mount the adapter cards on the opposite side, and glue the display panel on the side of the screw heads, covering them.
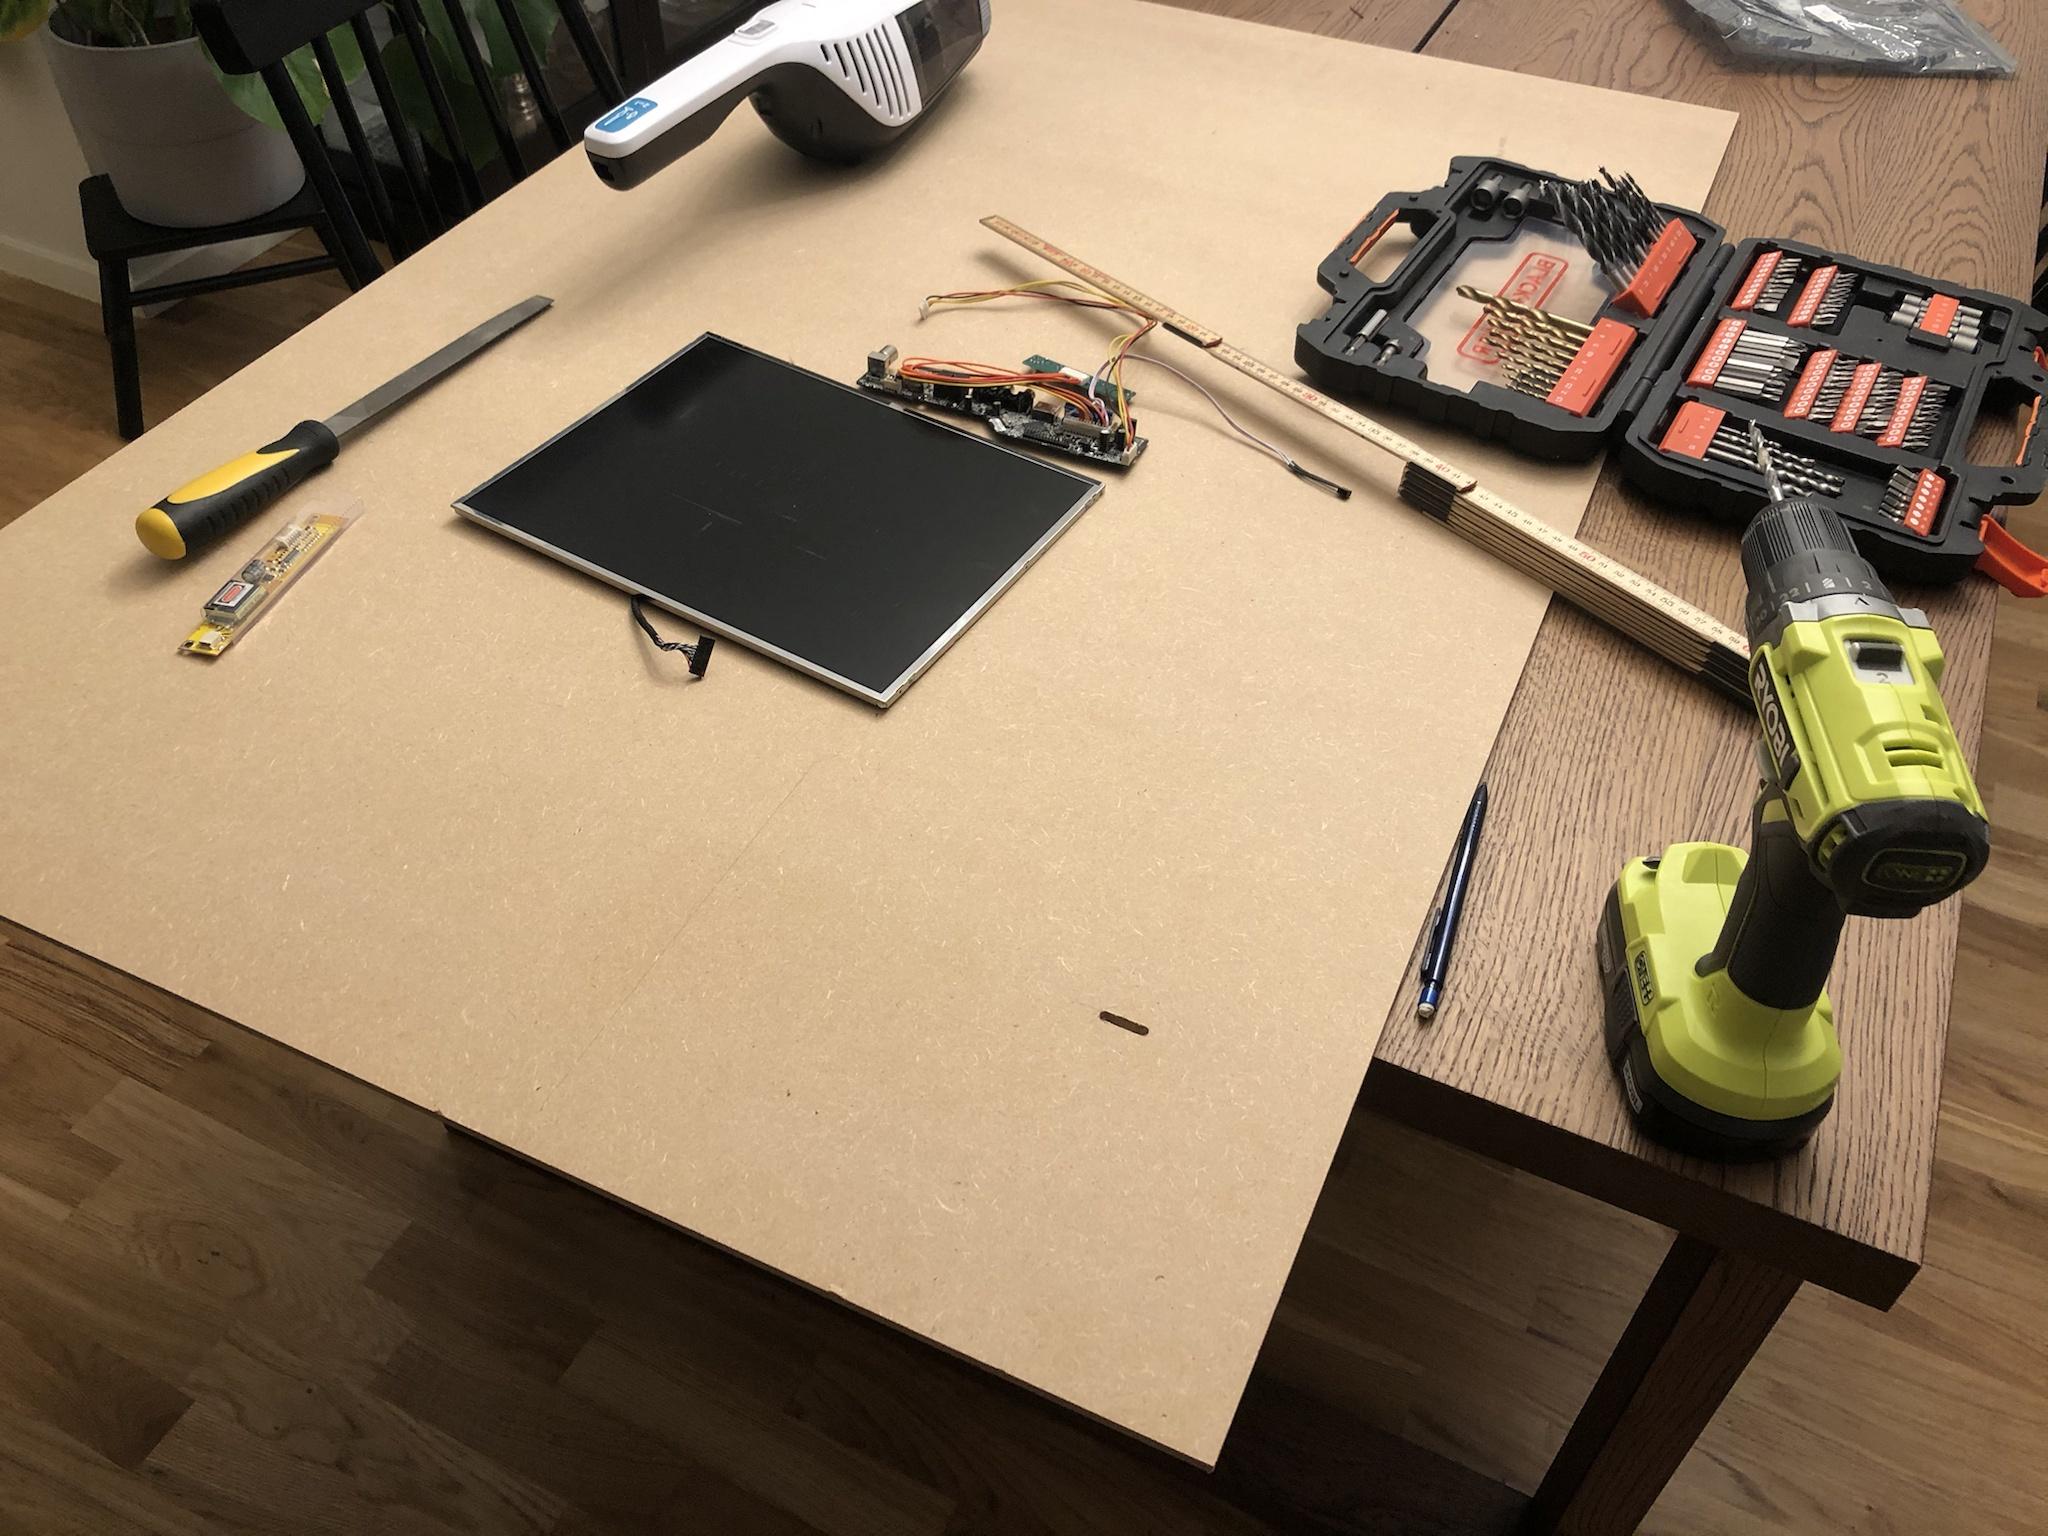
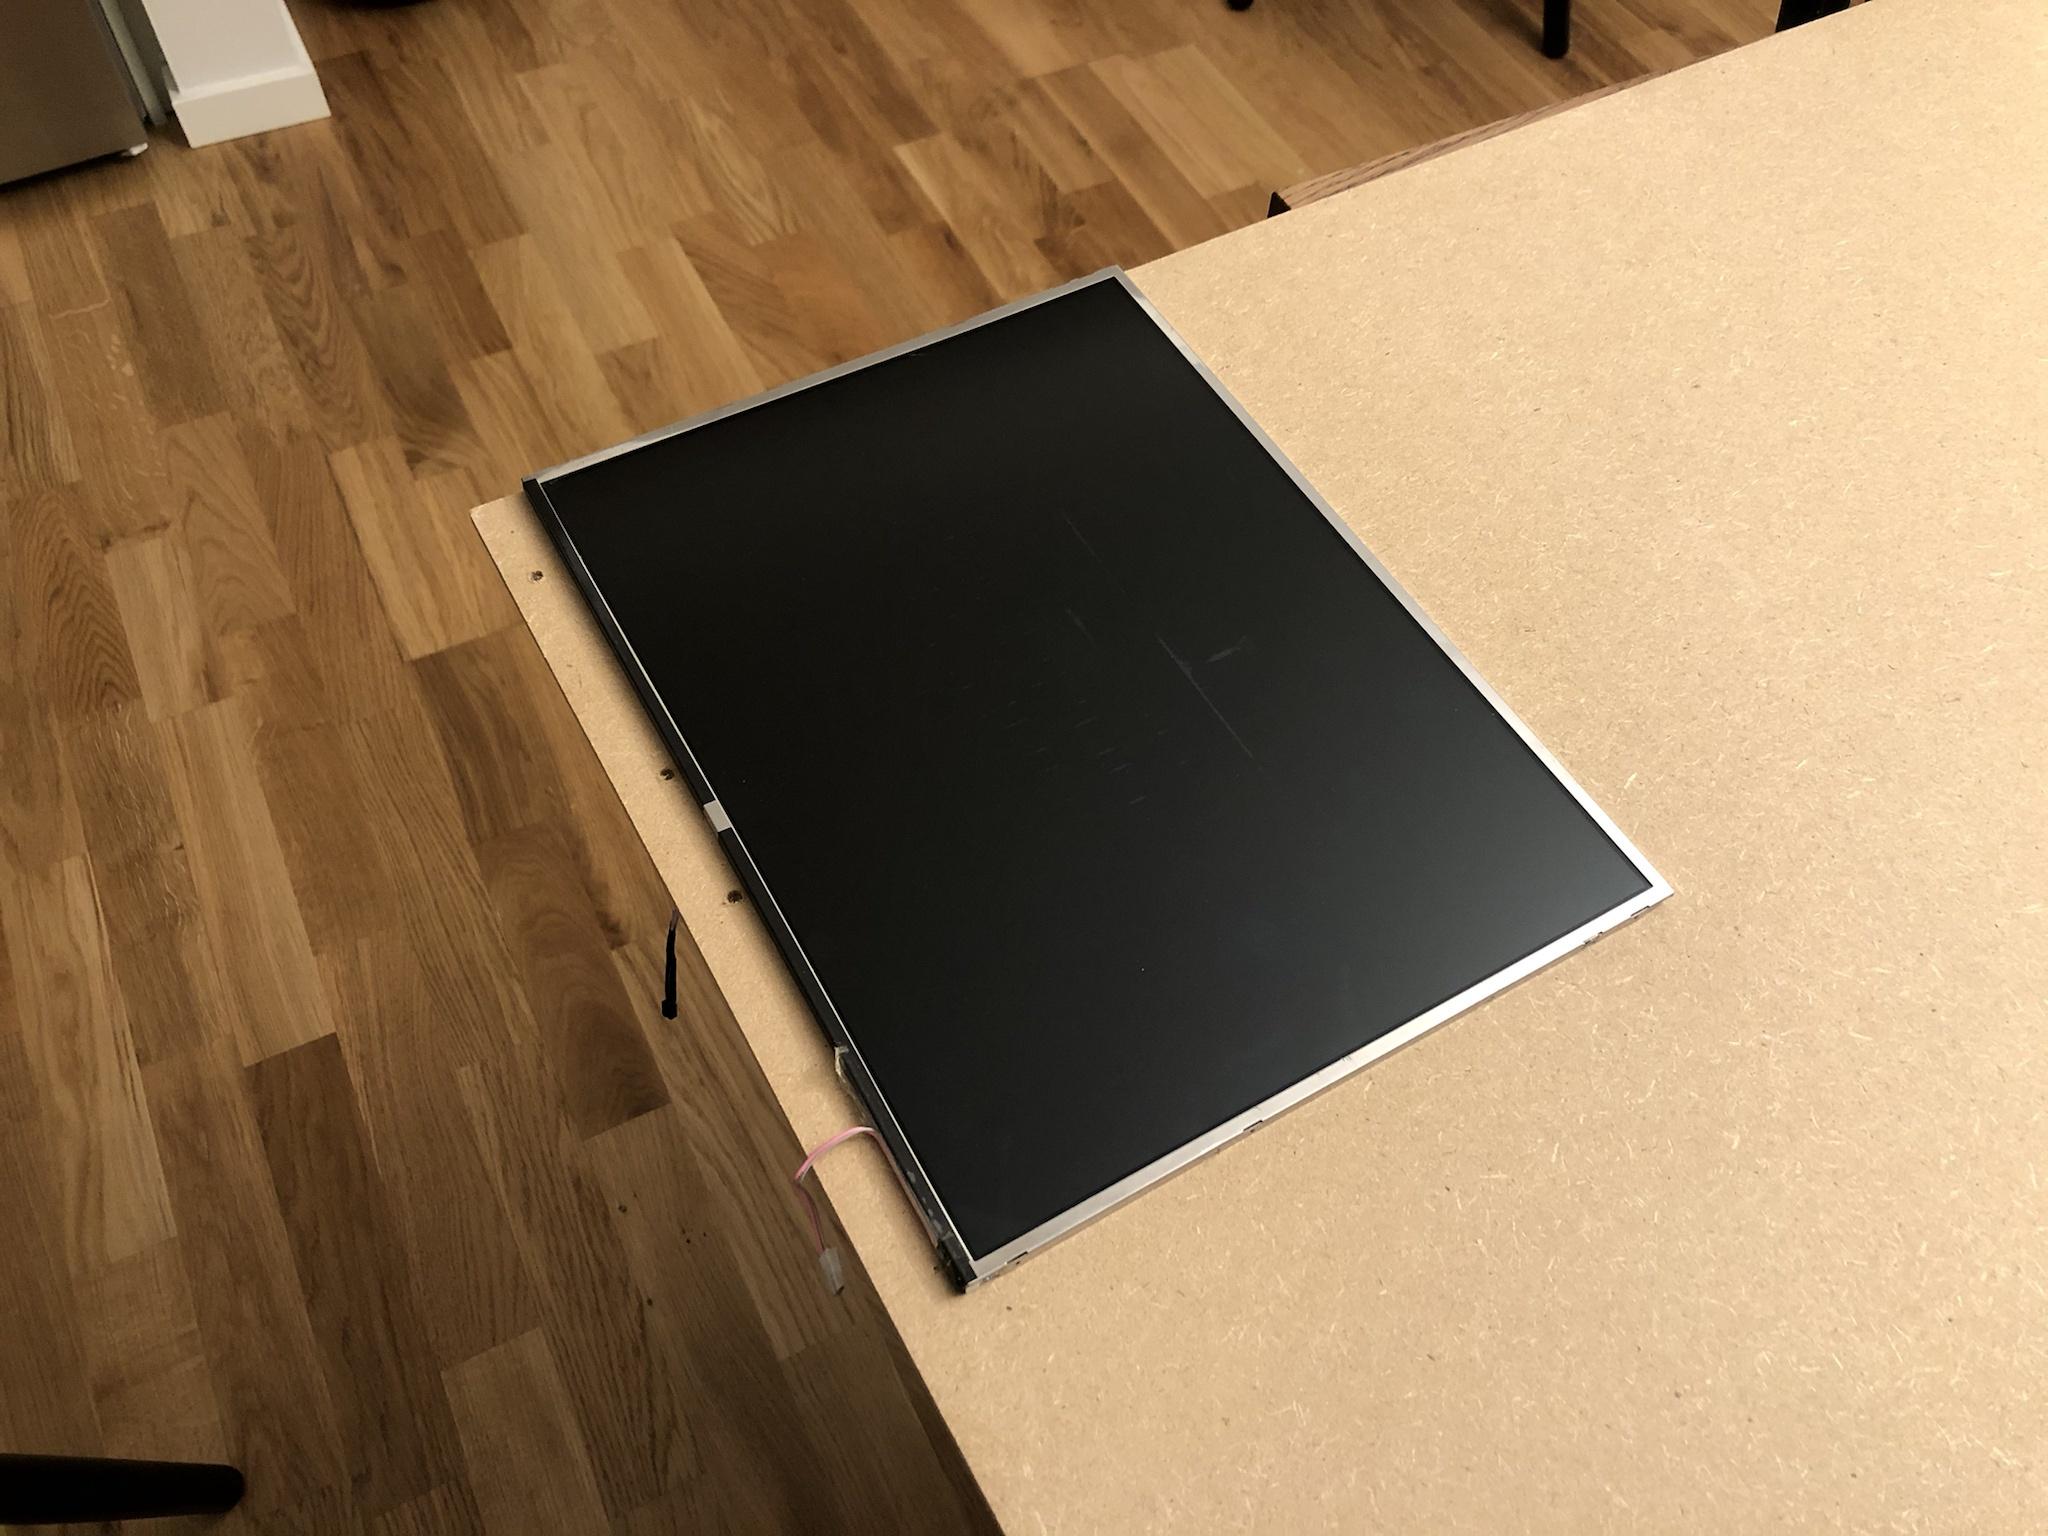
I started by marking the outlines of the display panel on the MDF board, leaving around 2 cm of space under it.
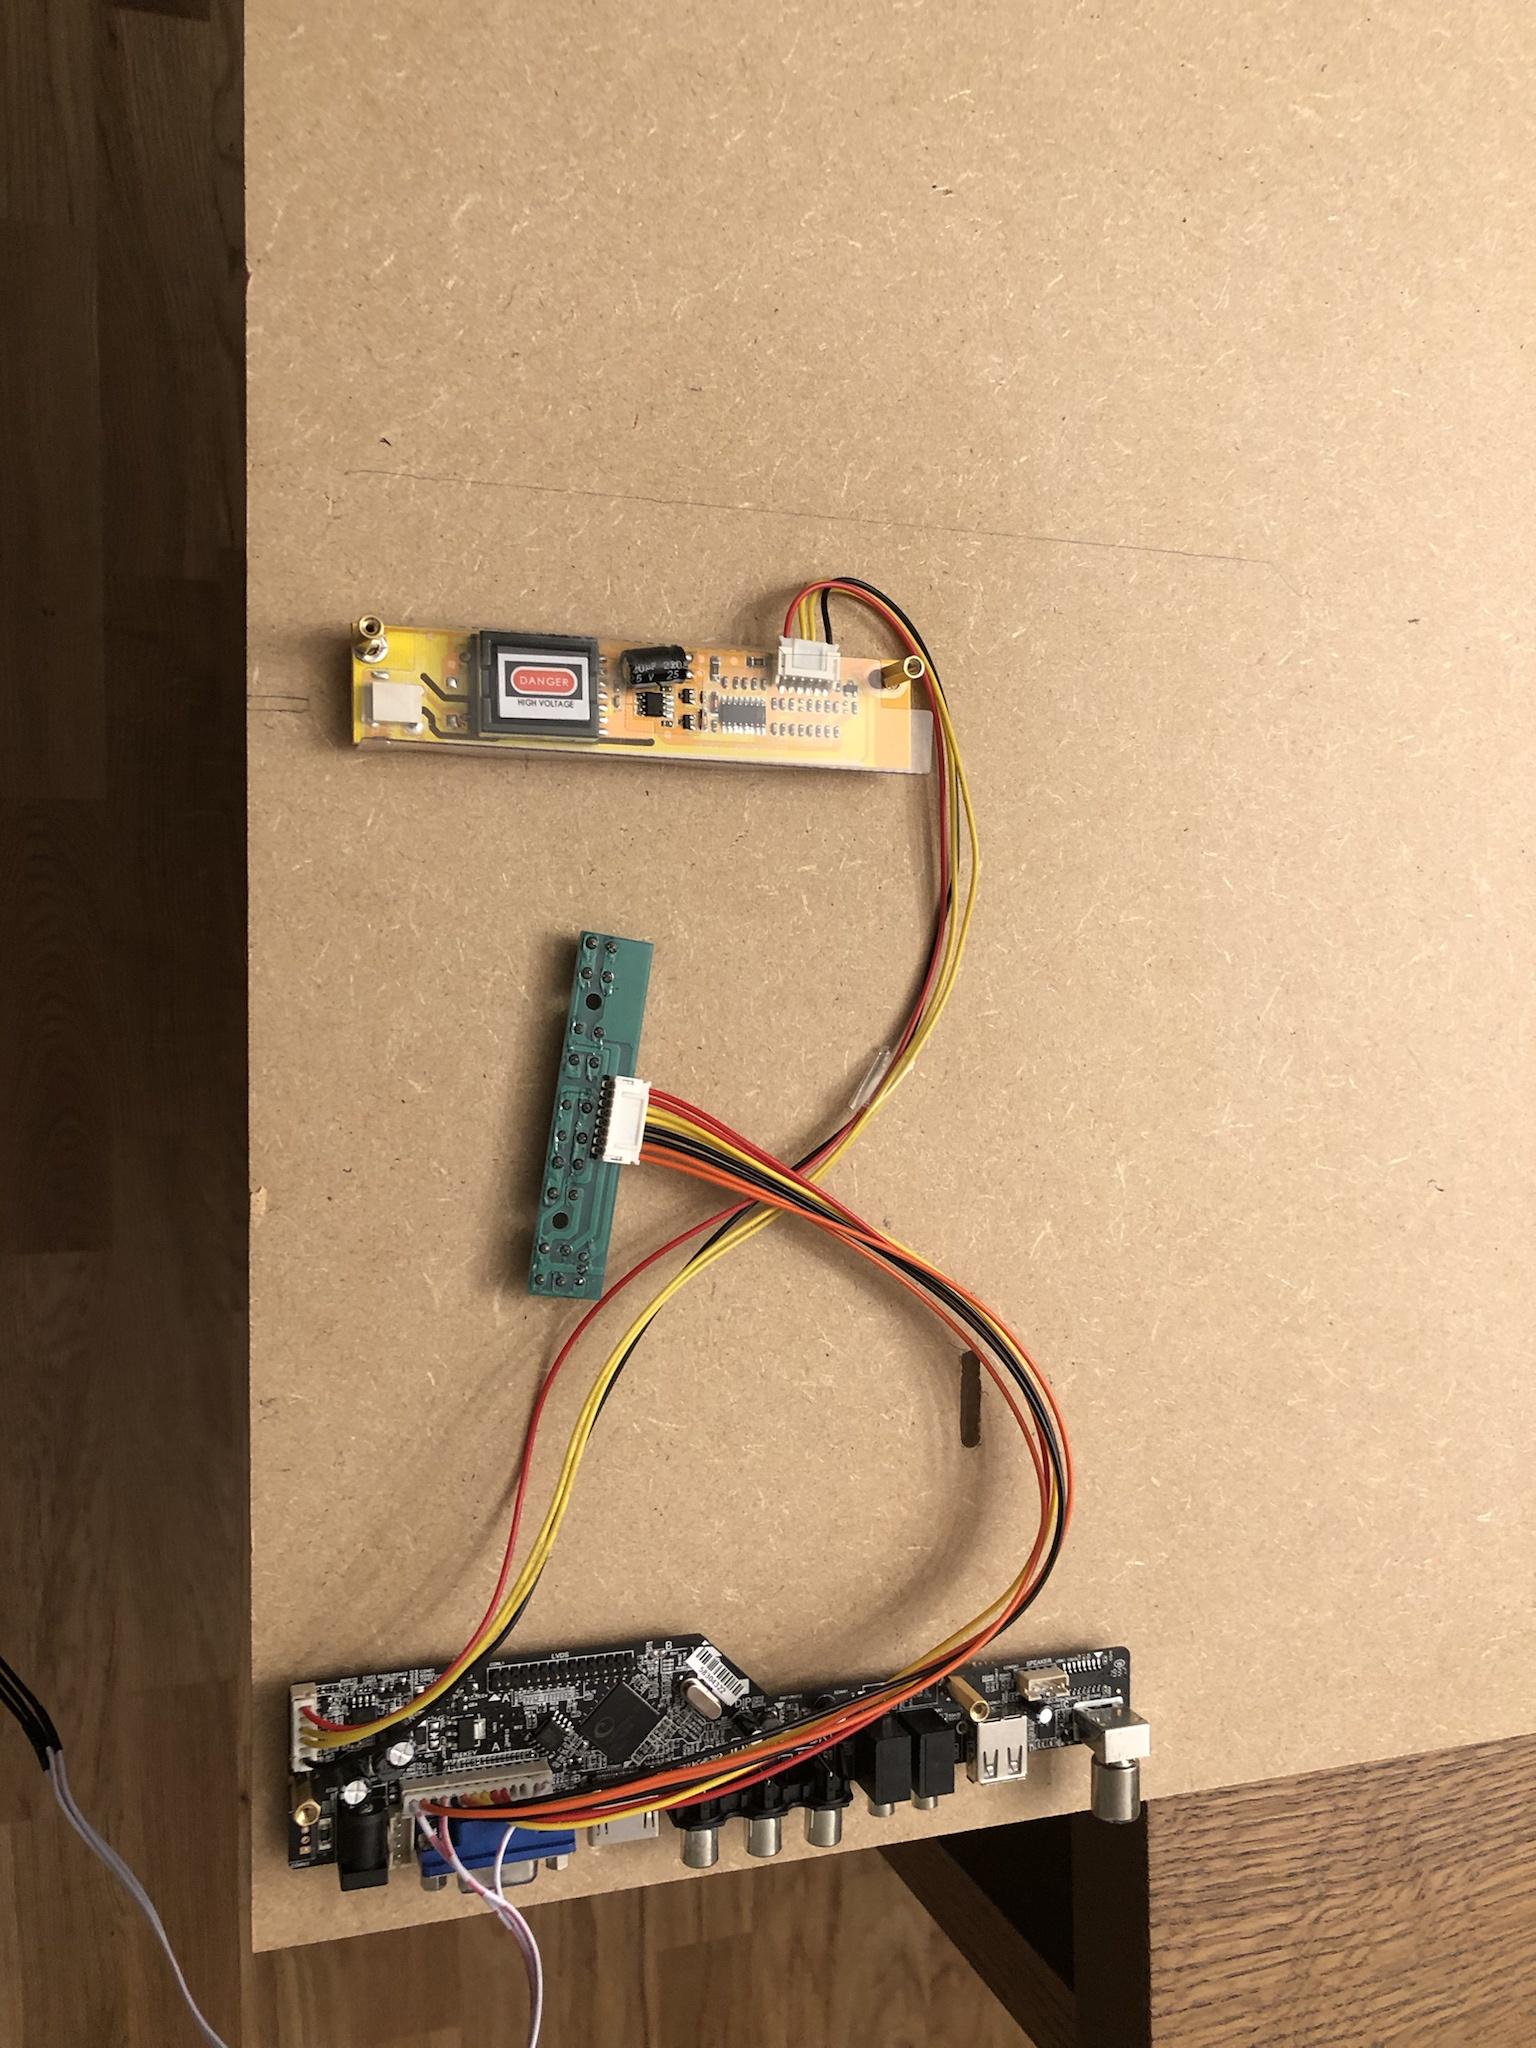
Then I flipped the MDF board, planned a layout and started marking holes for countersunk screws.
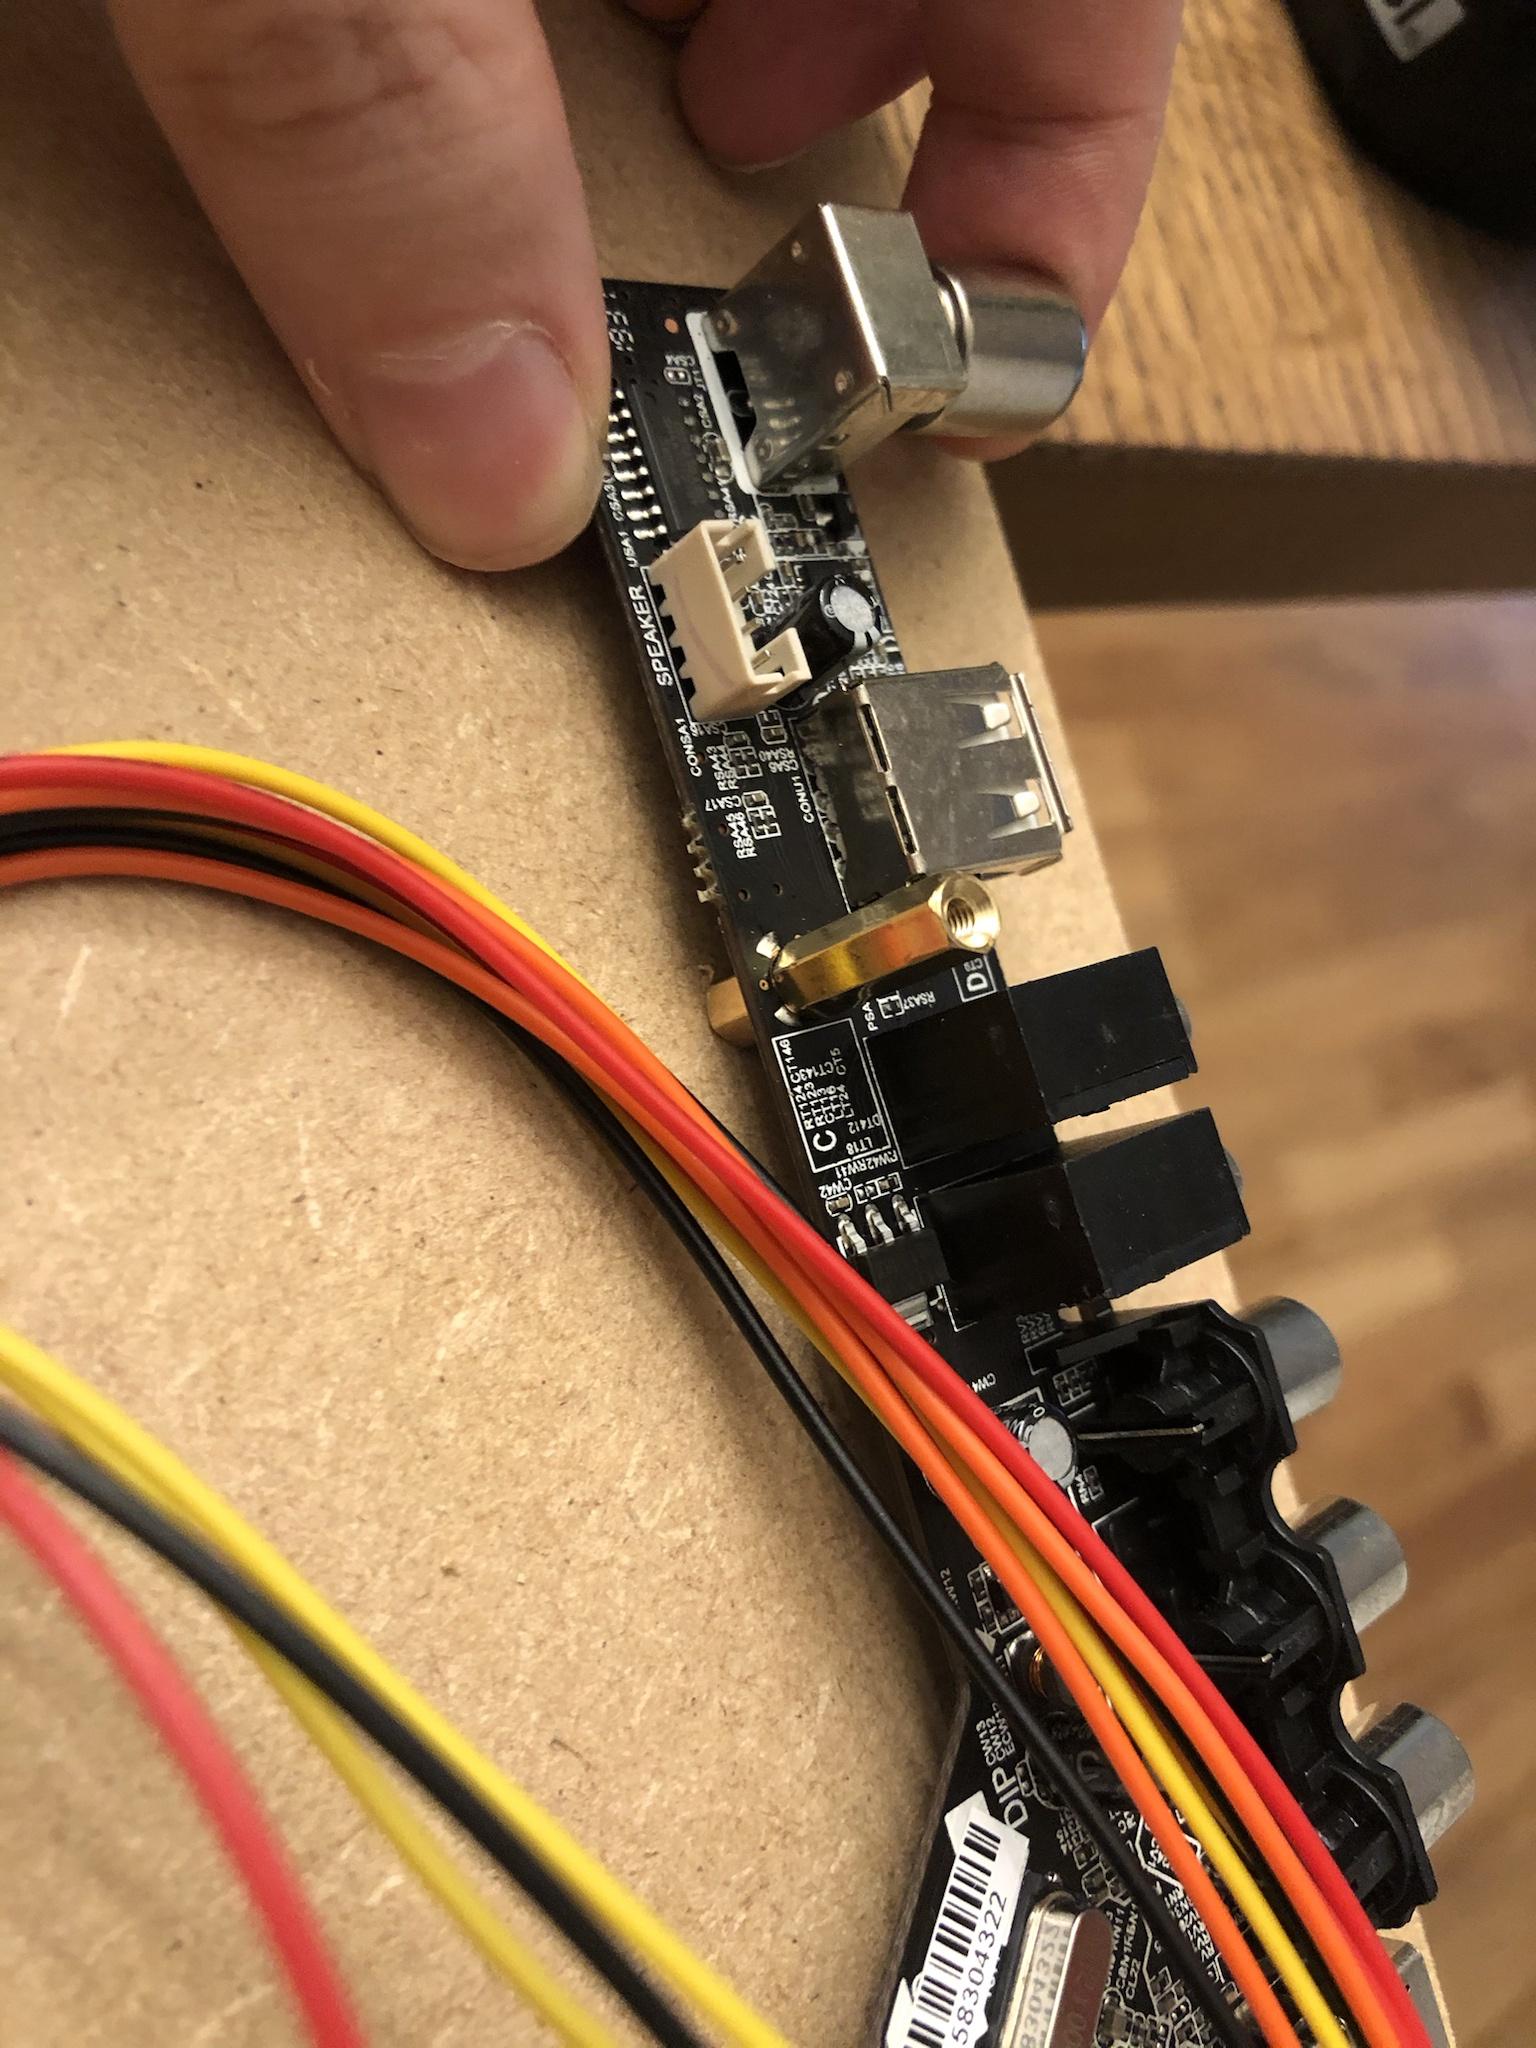
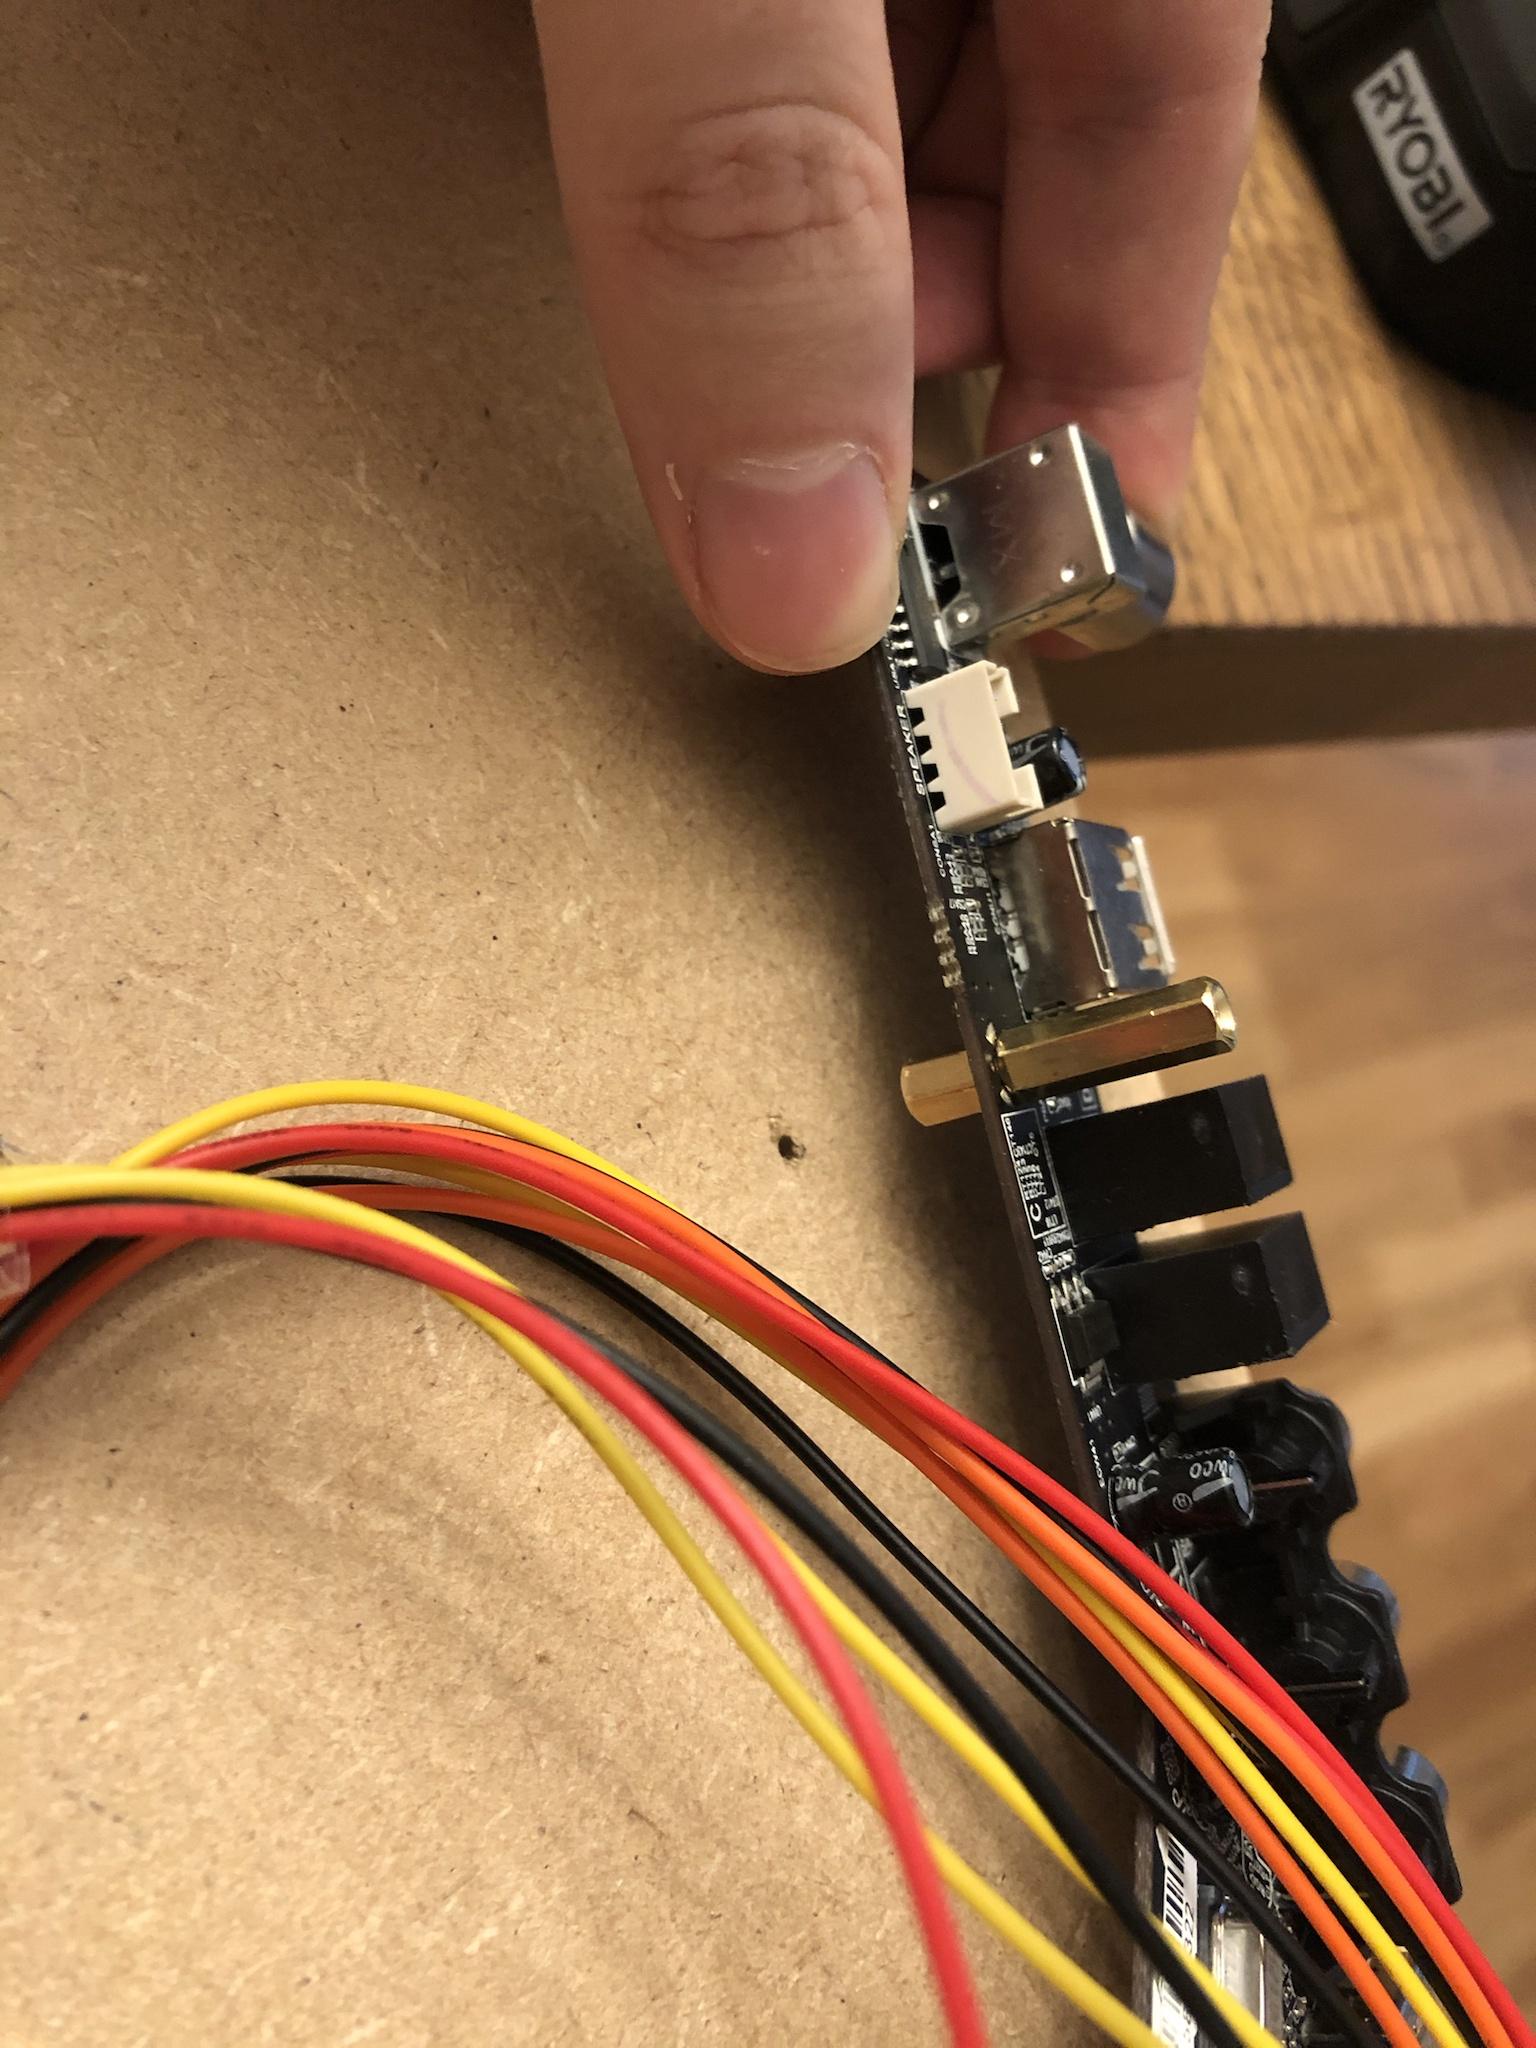
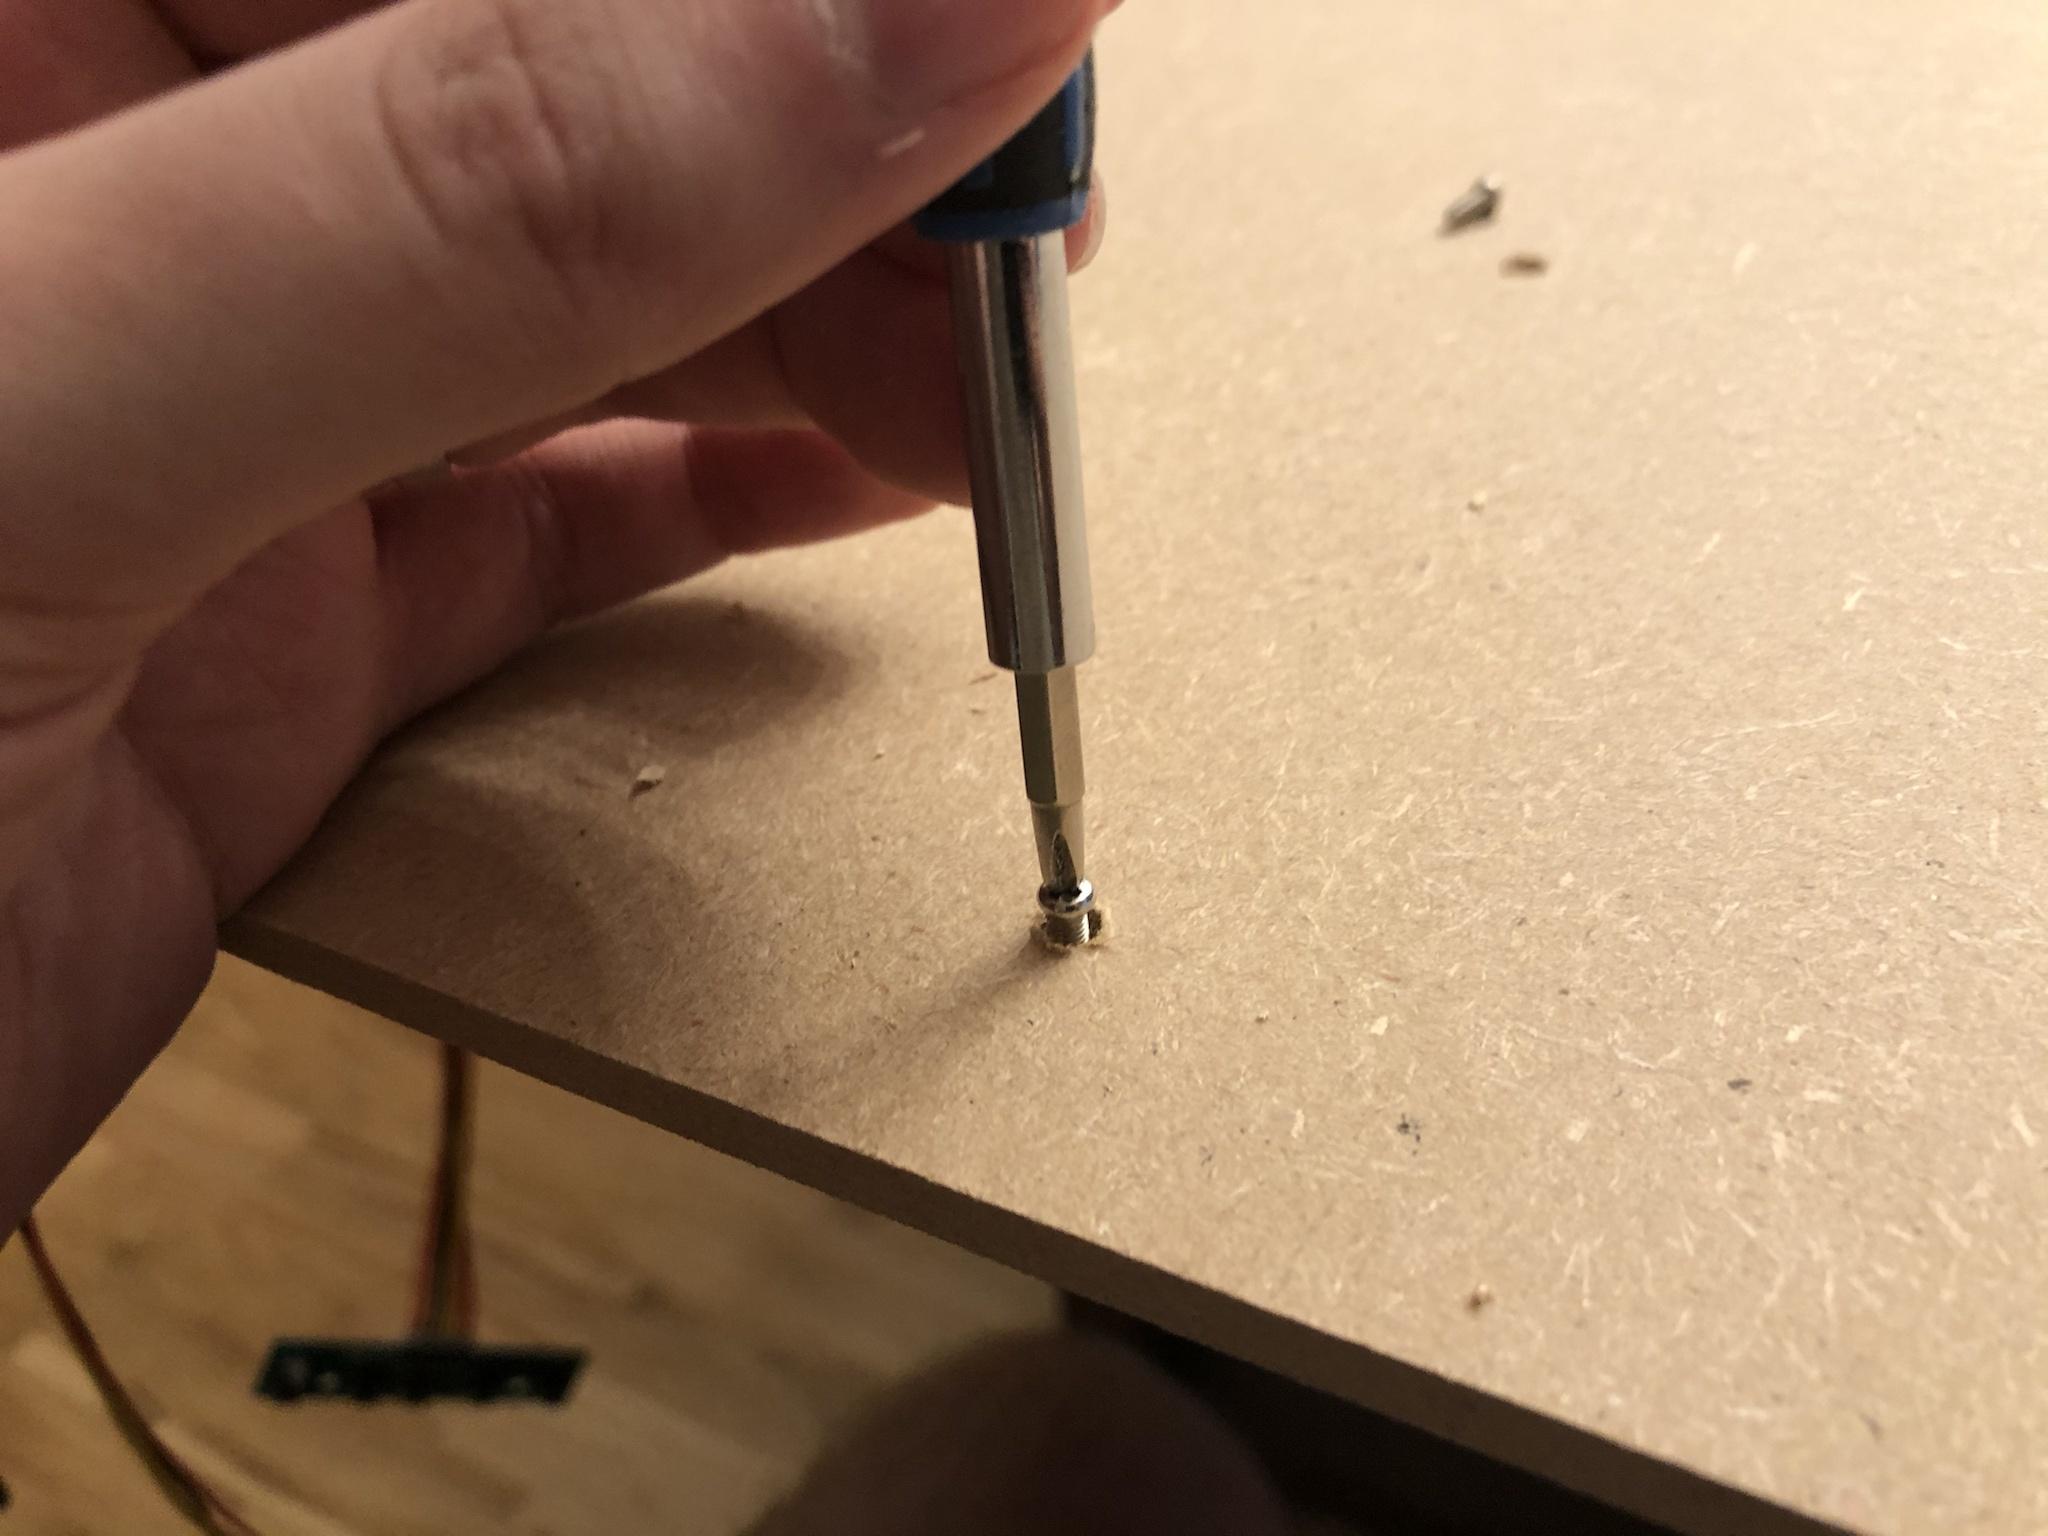
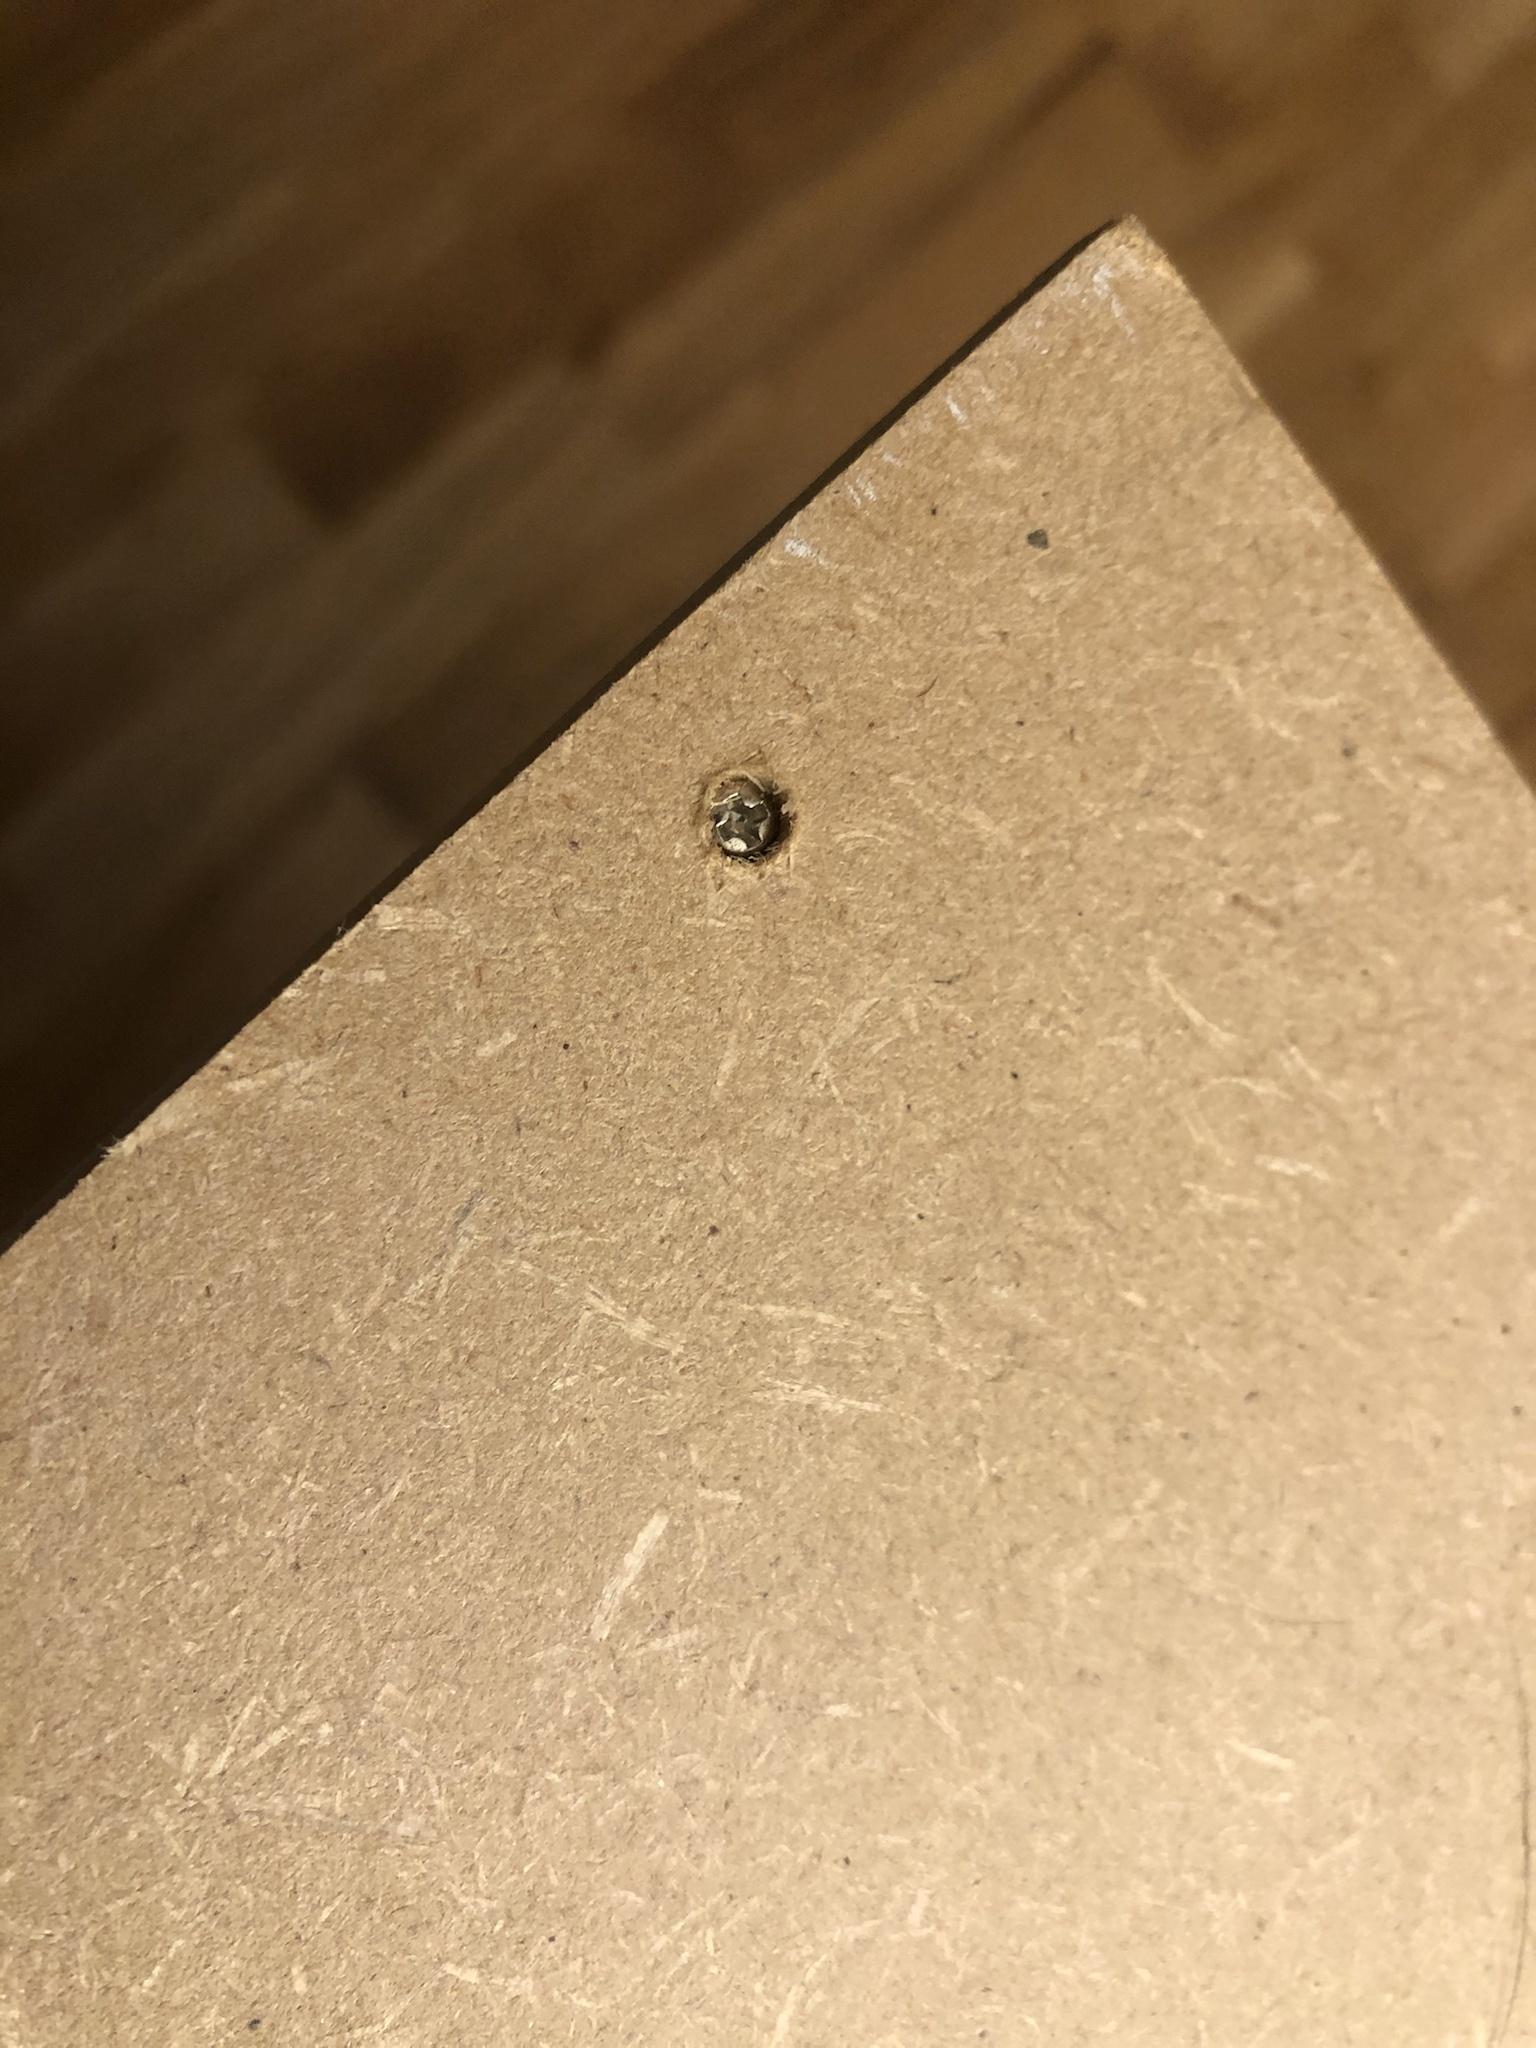
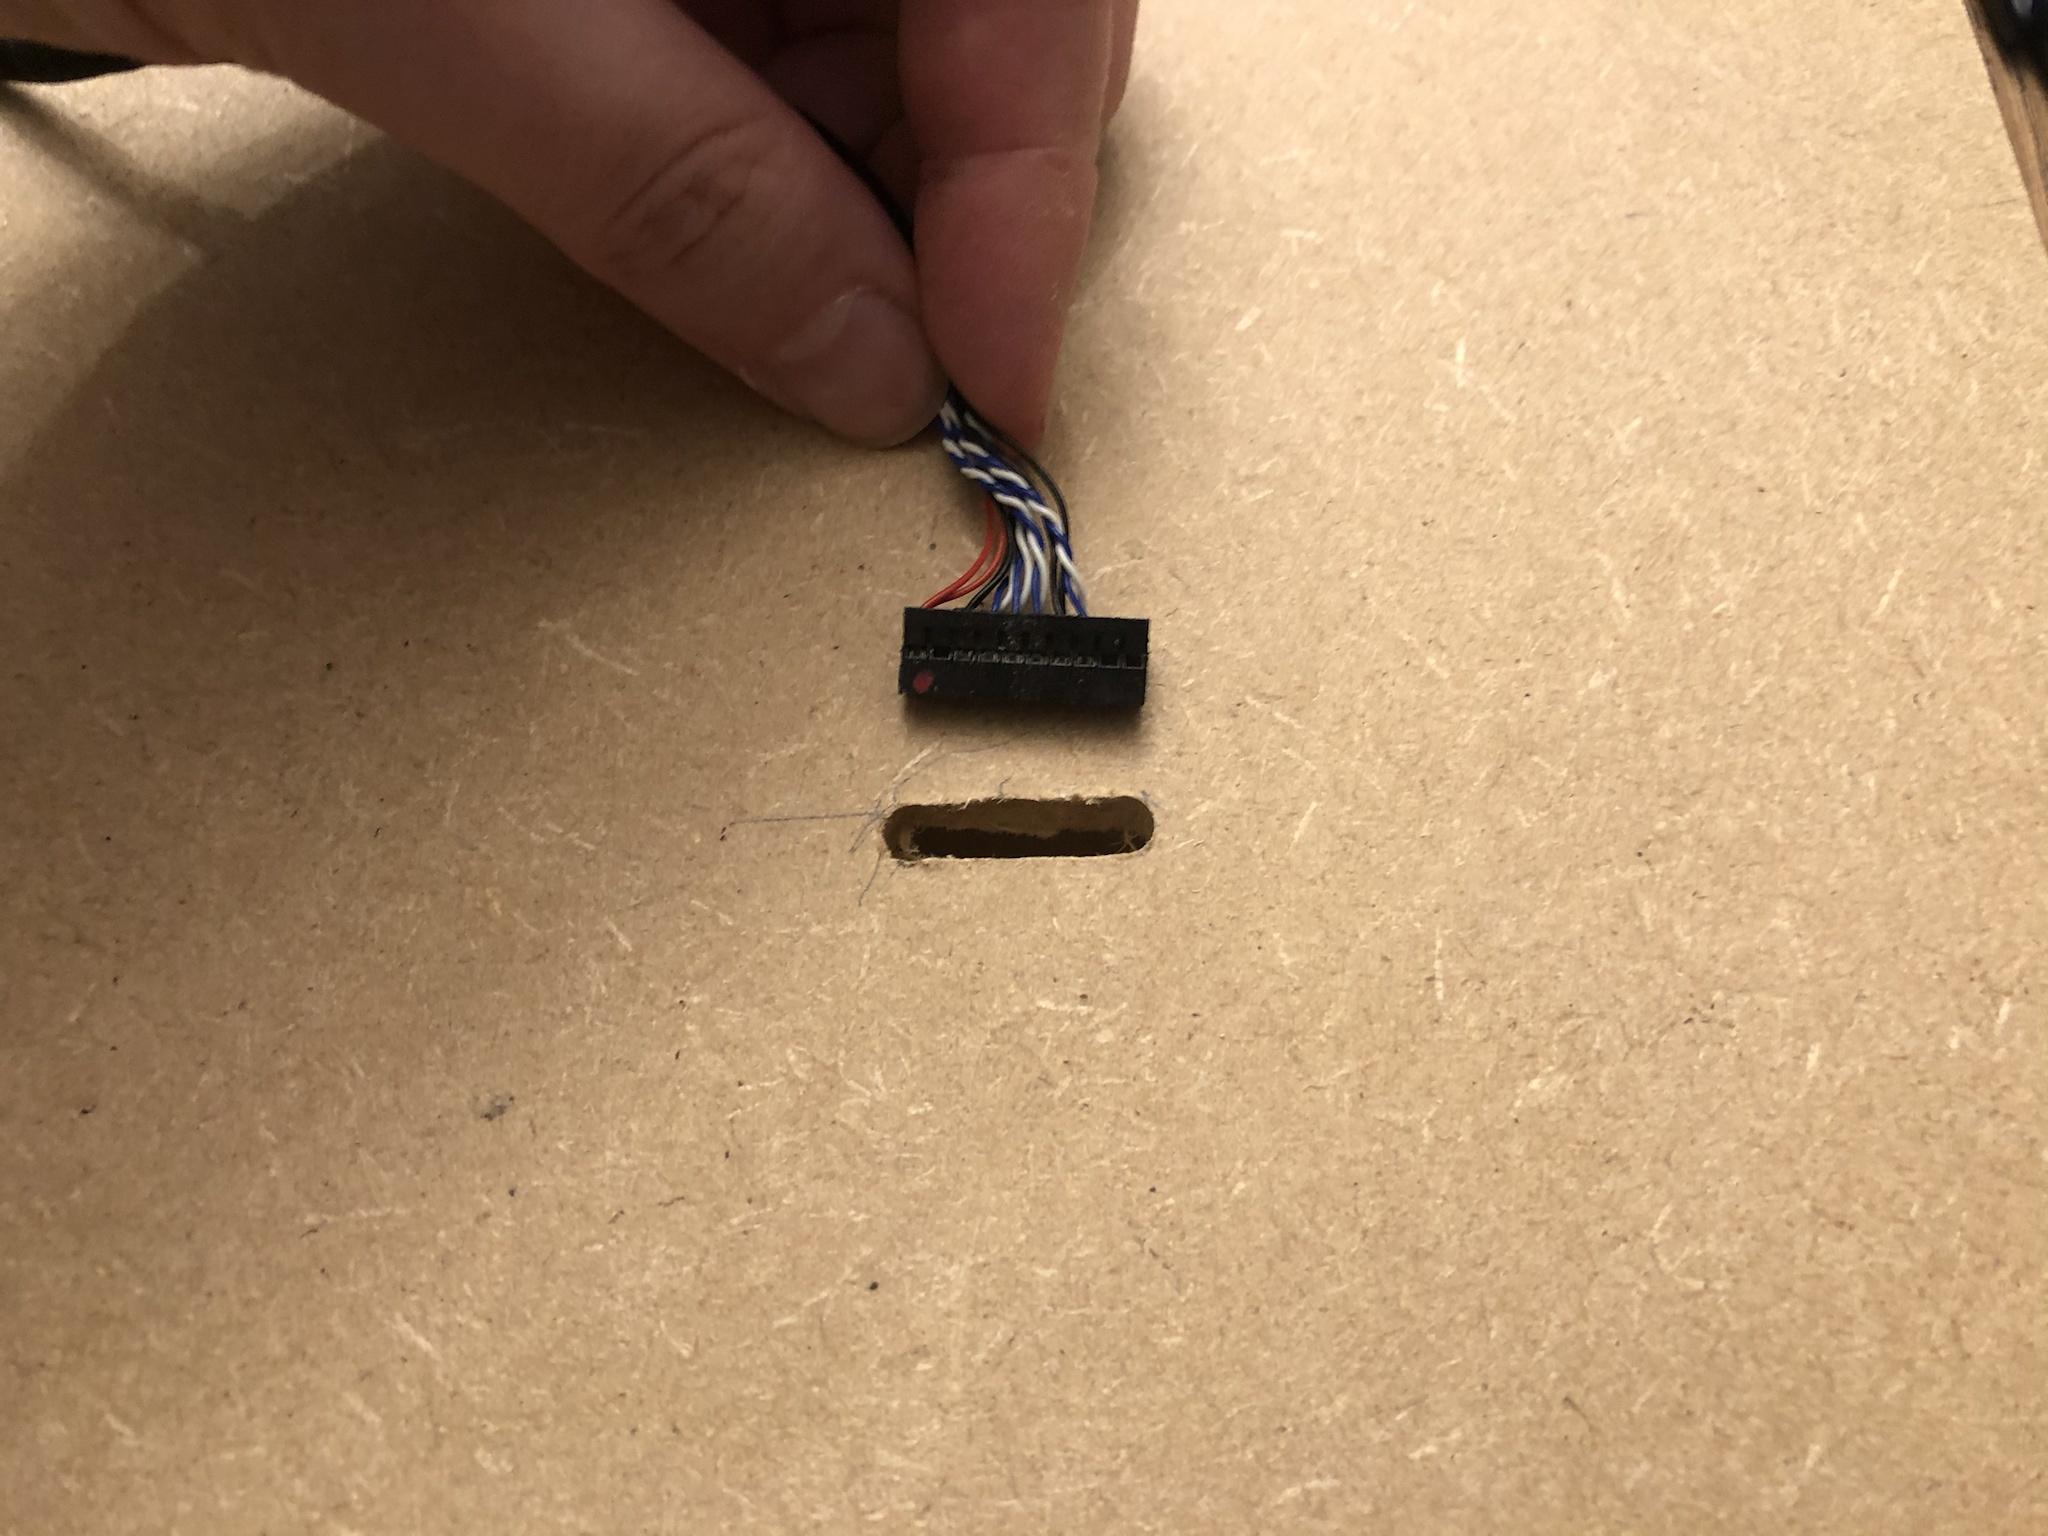
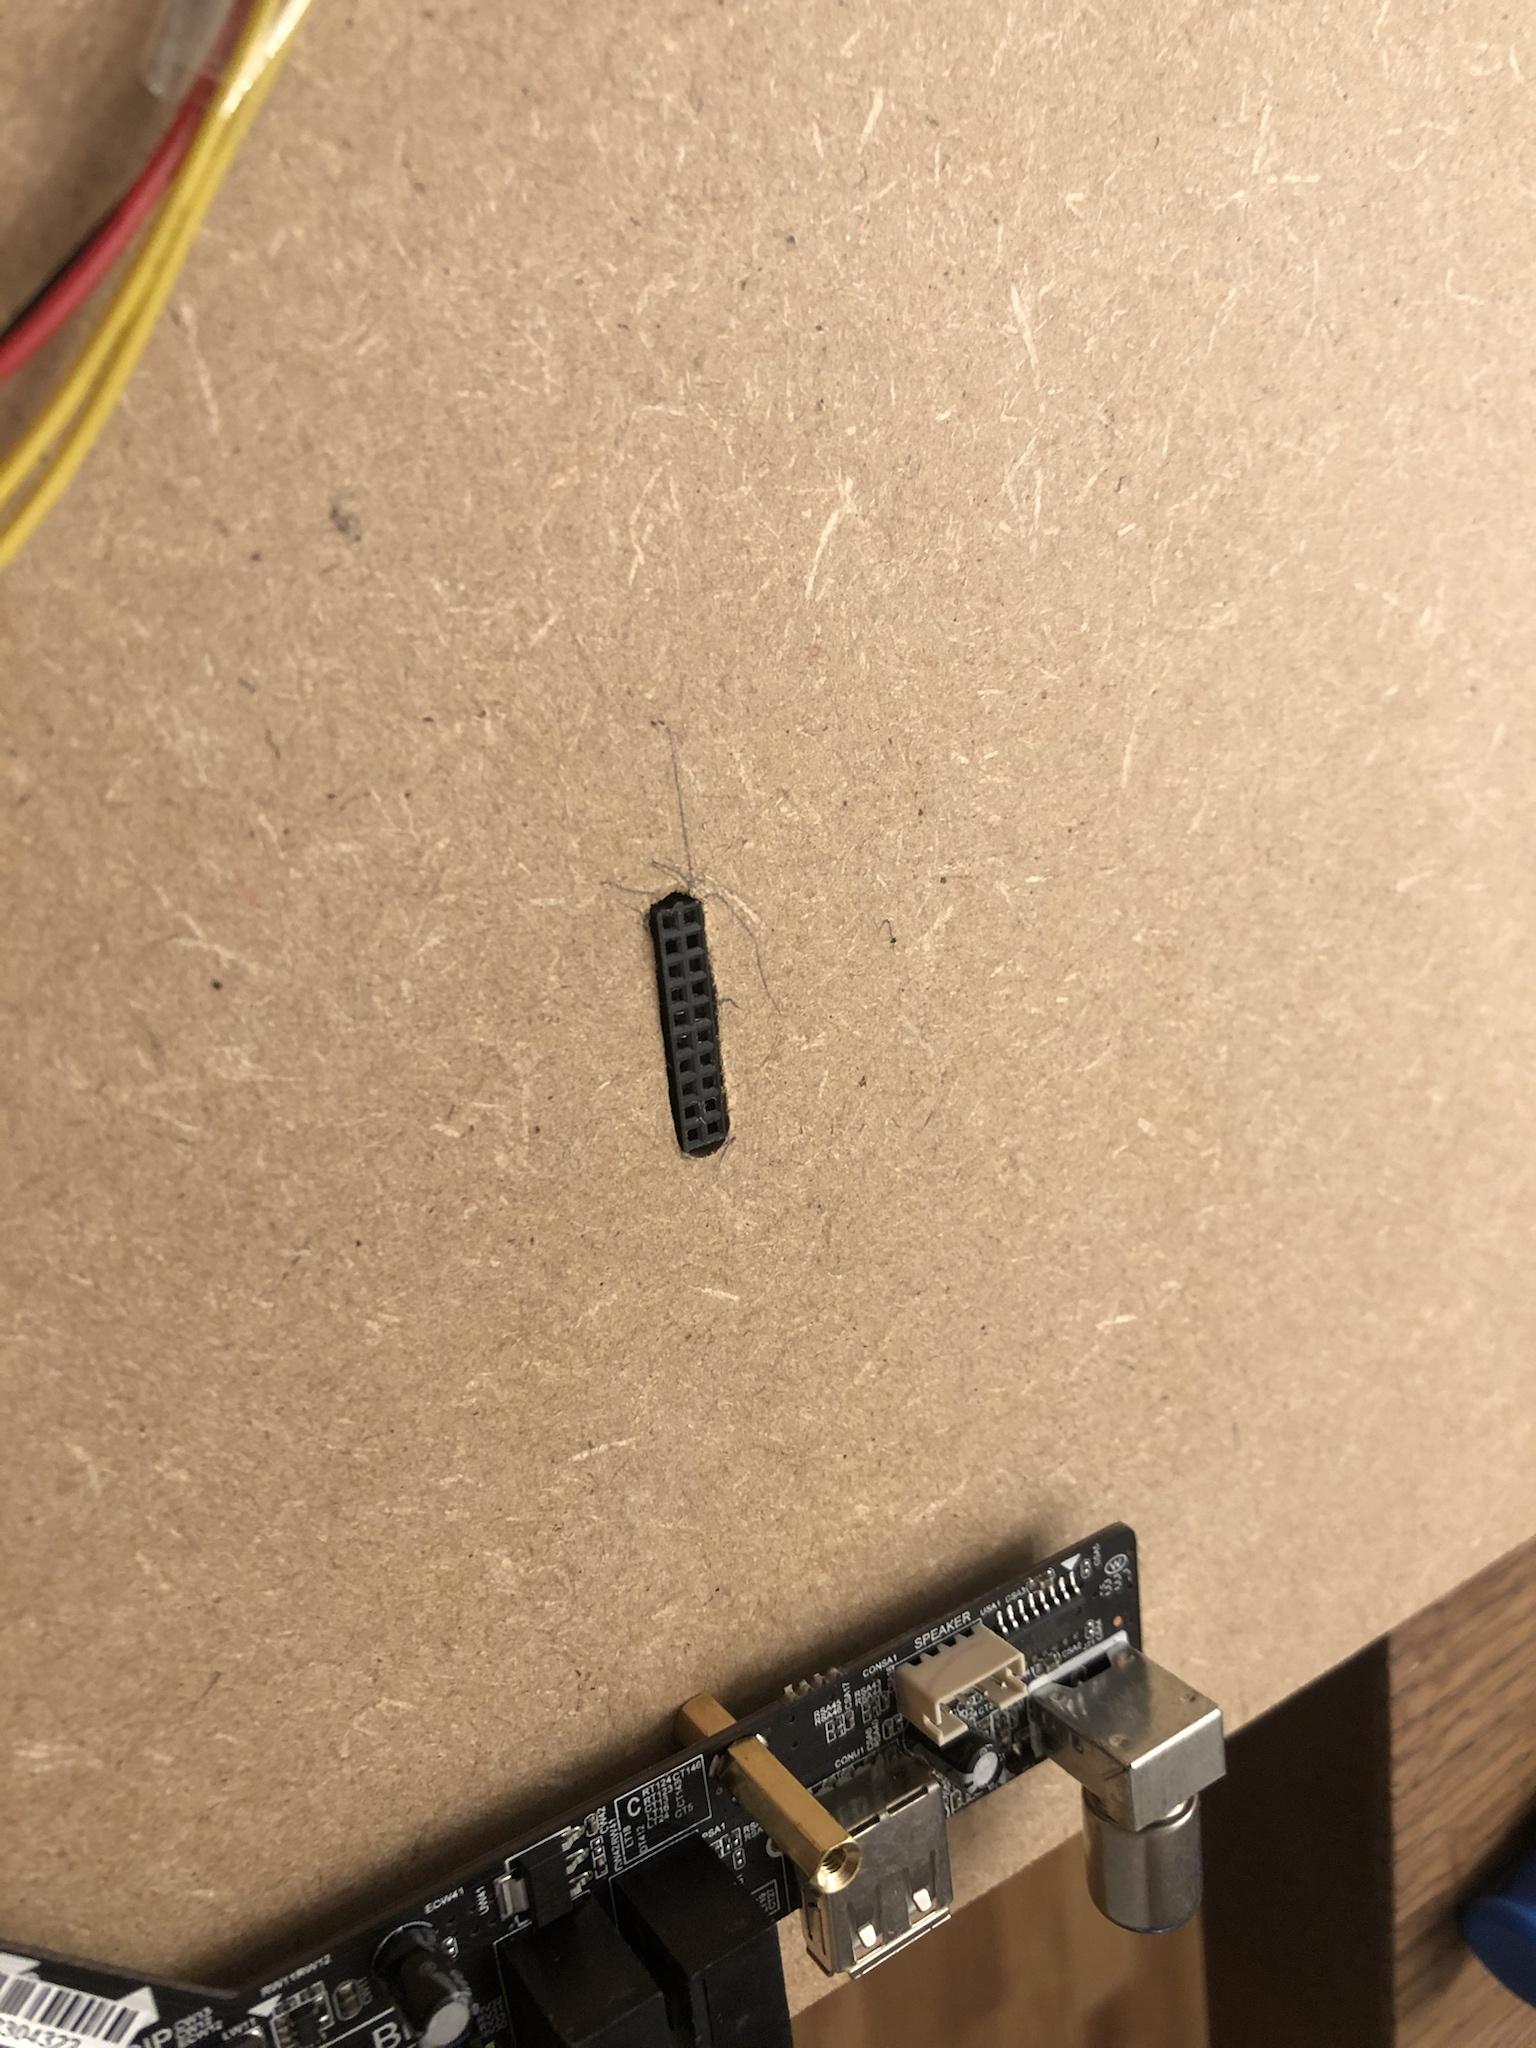
I made a hole for the display connector with just a power drill. It turned out great.
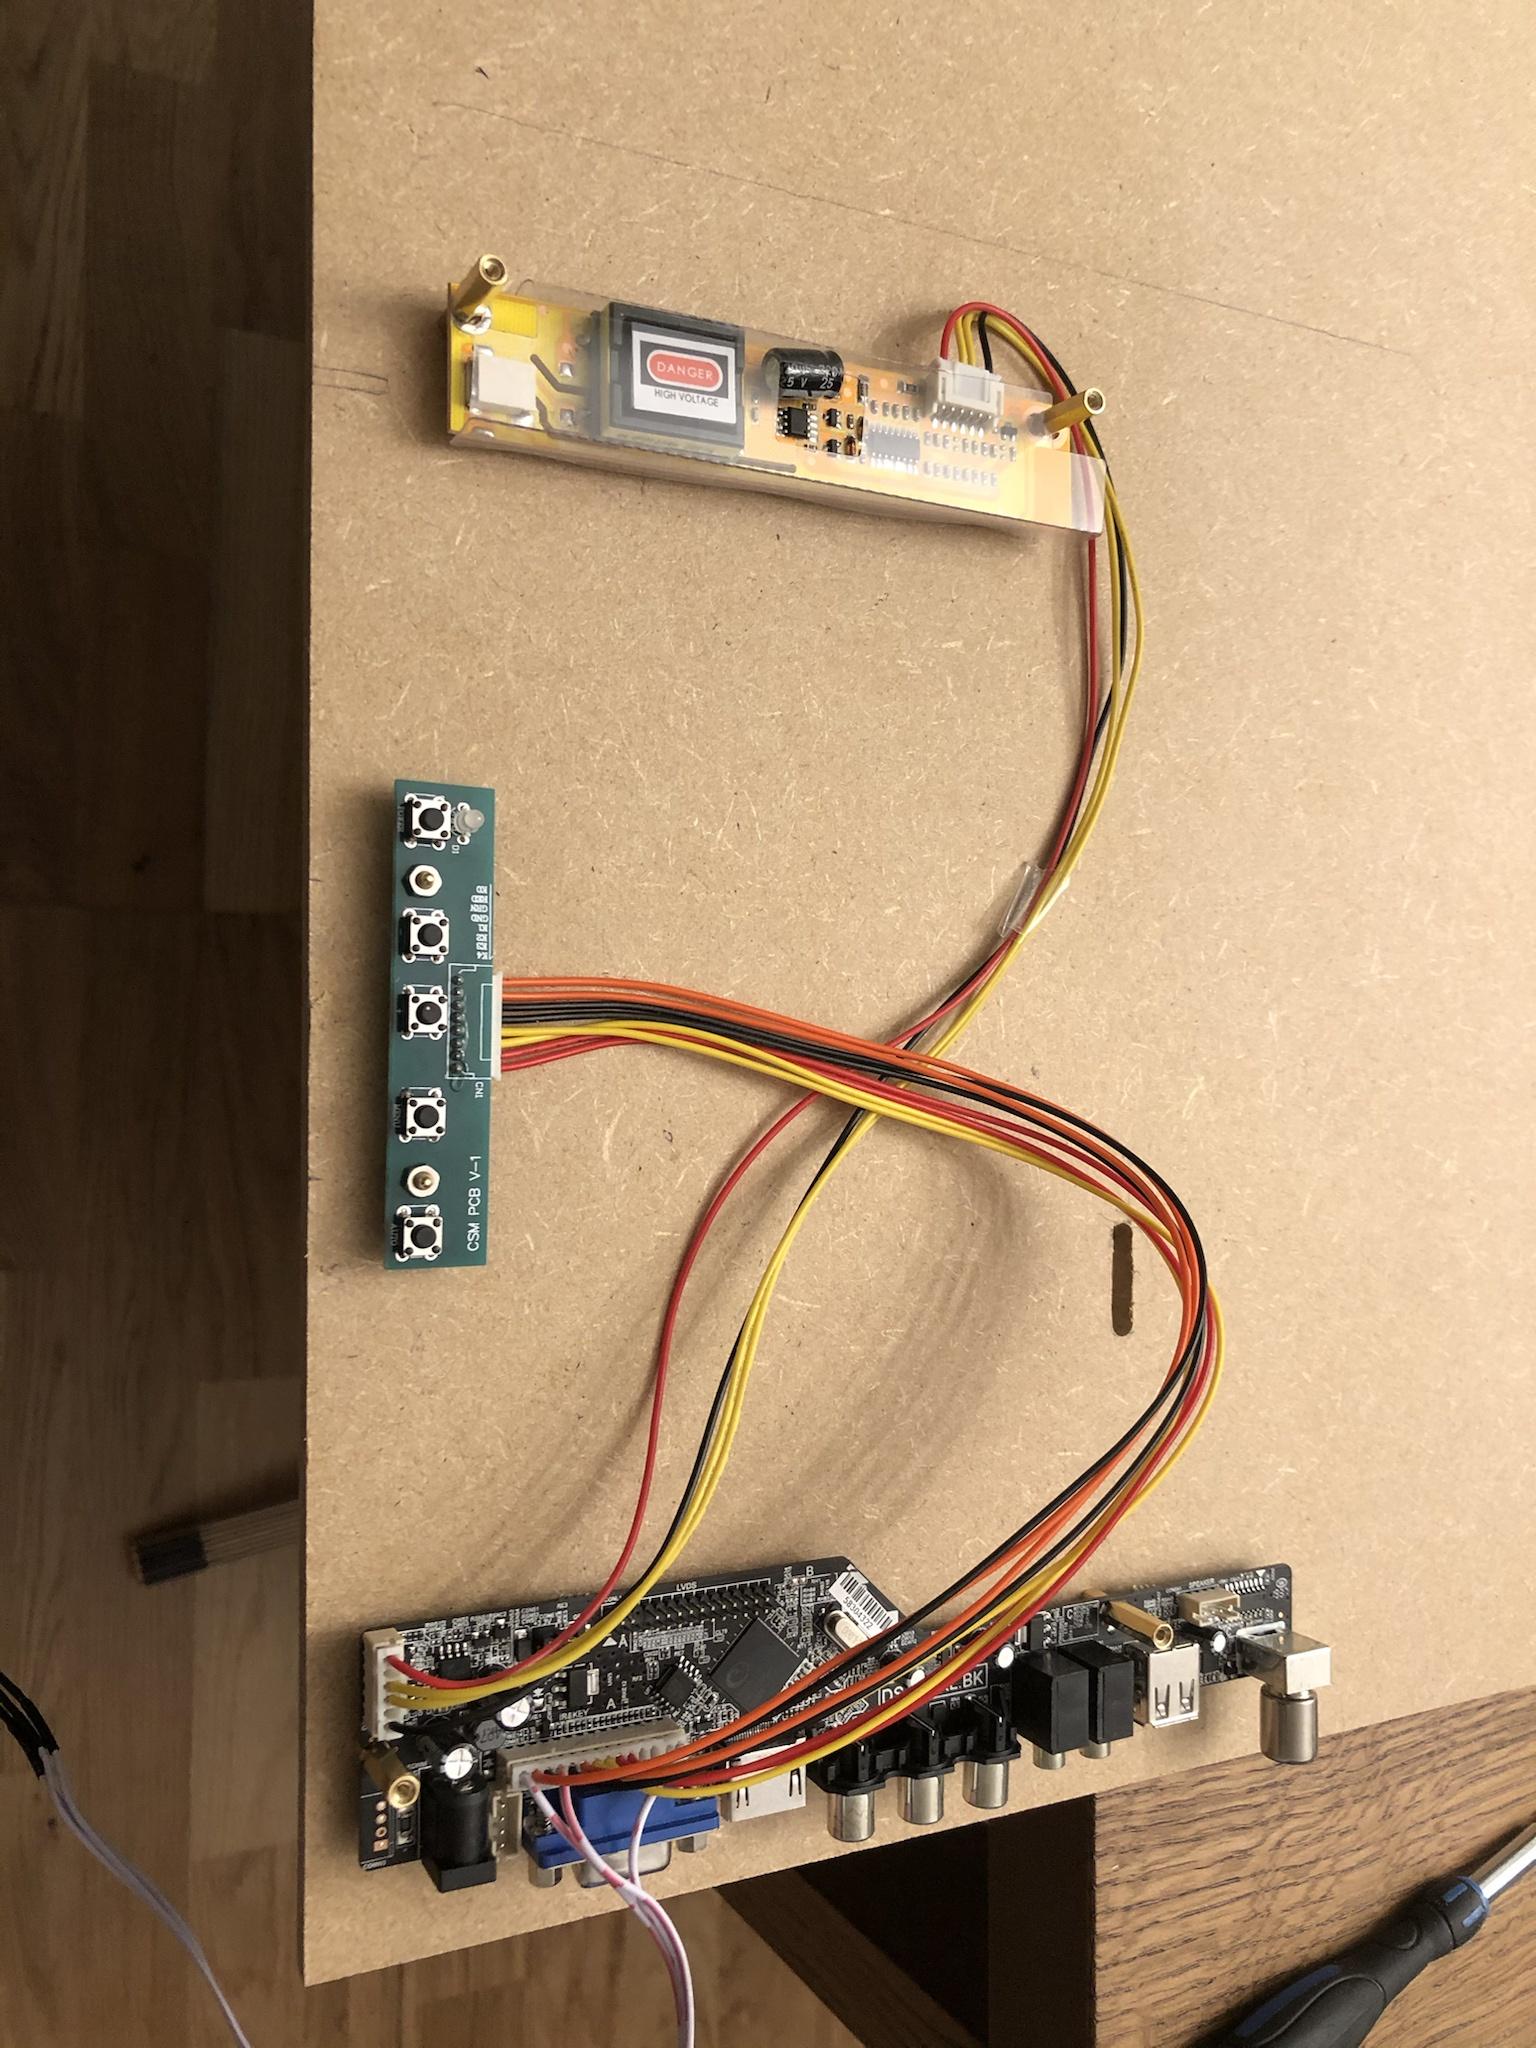
With all boards mounted, the backside looked like this:
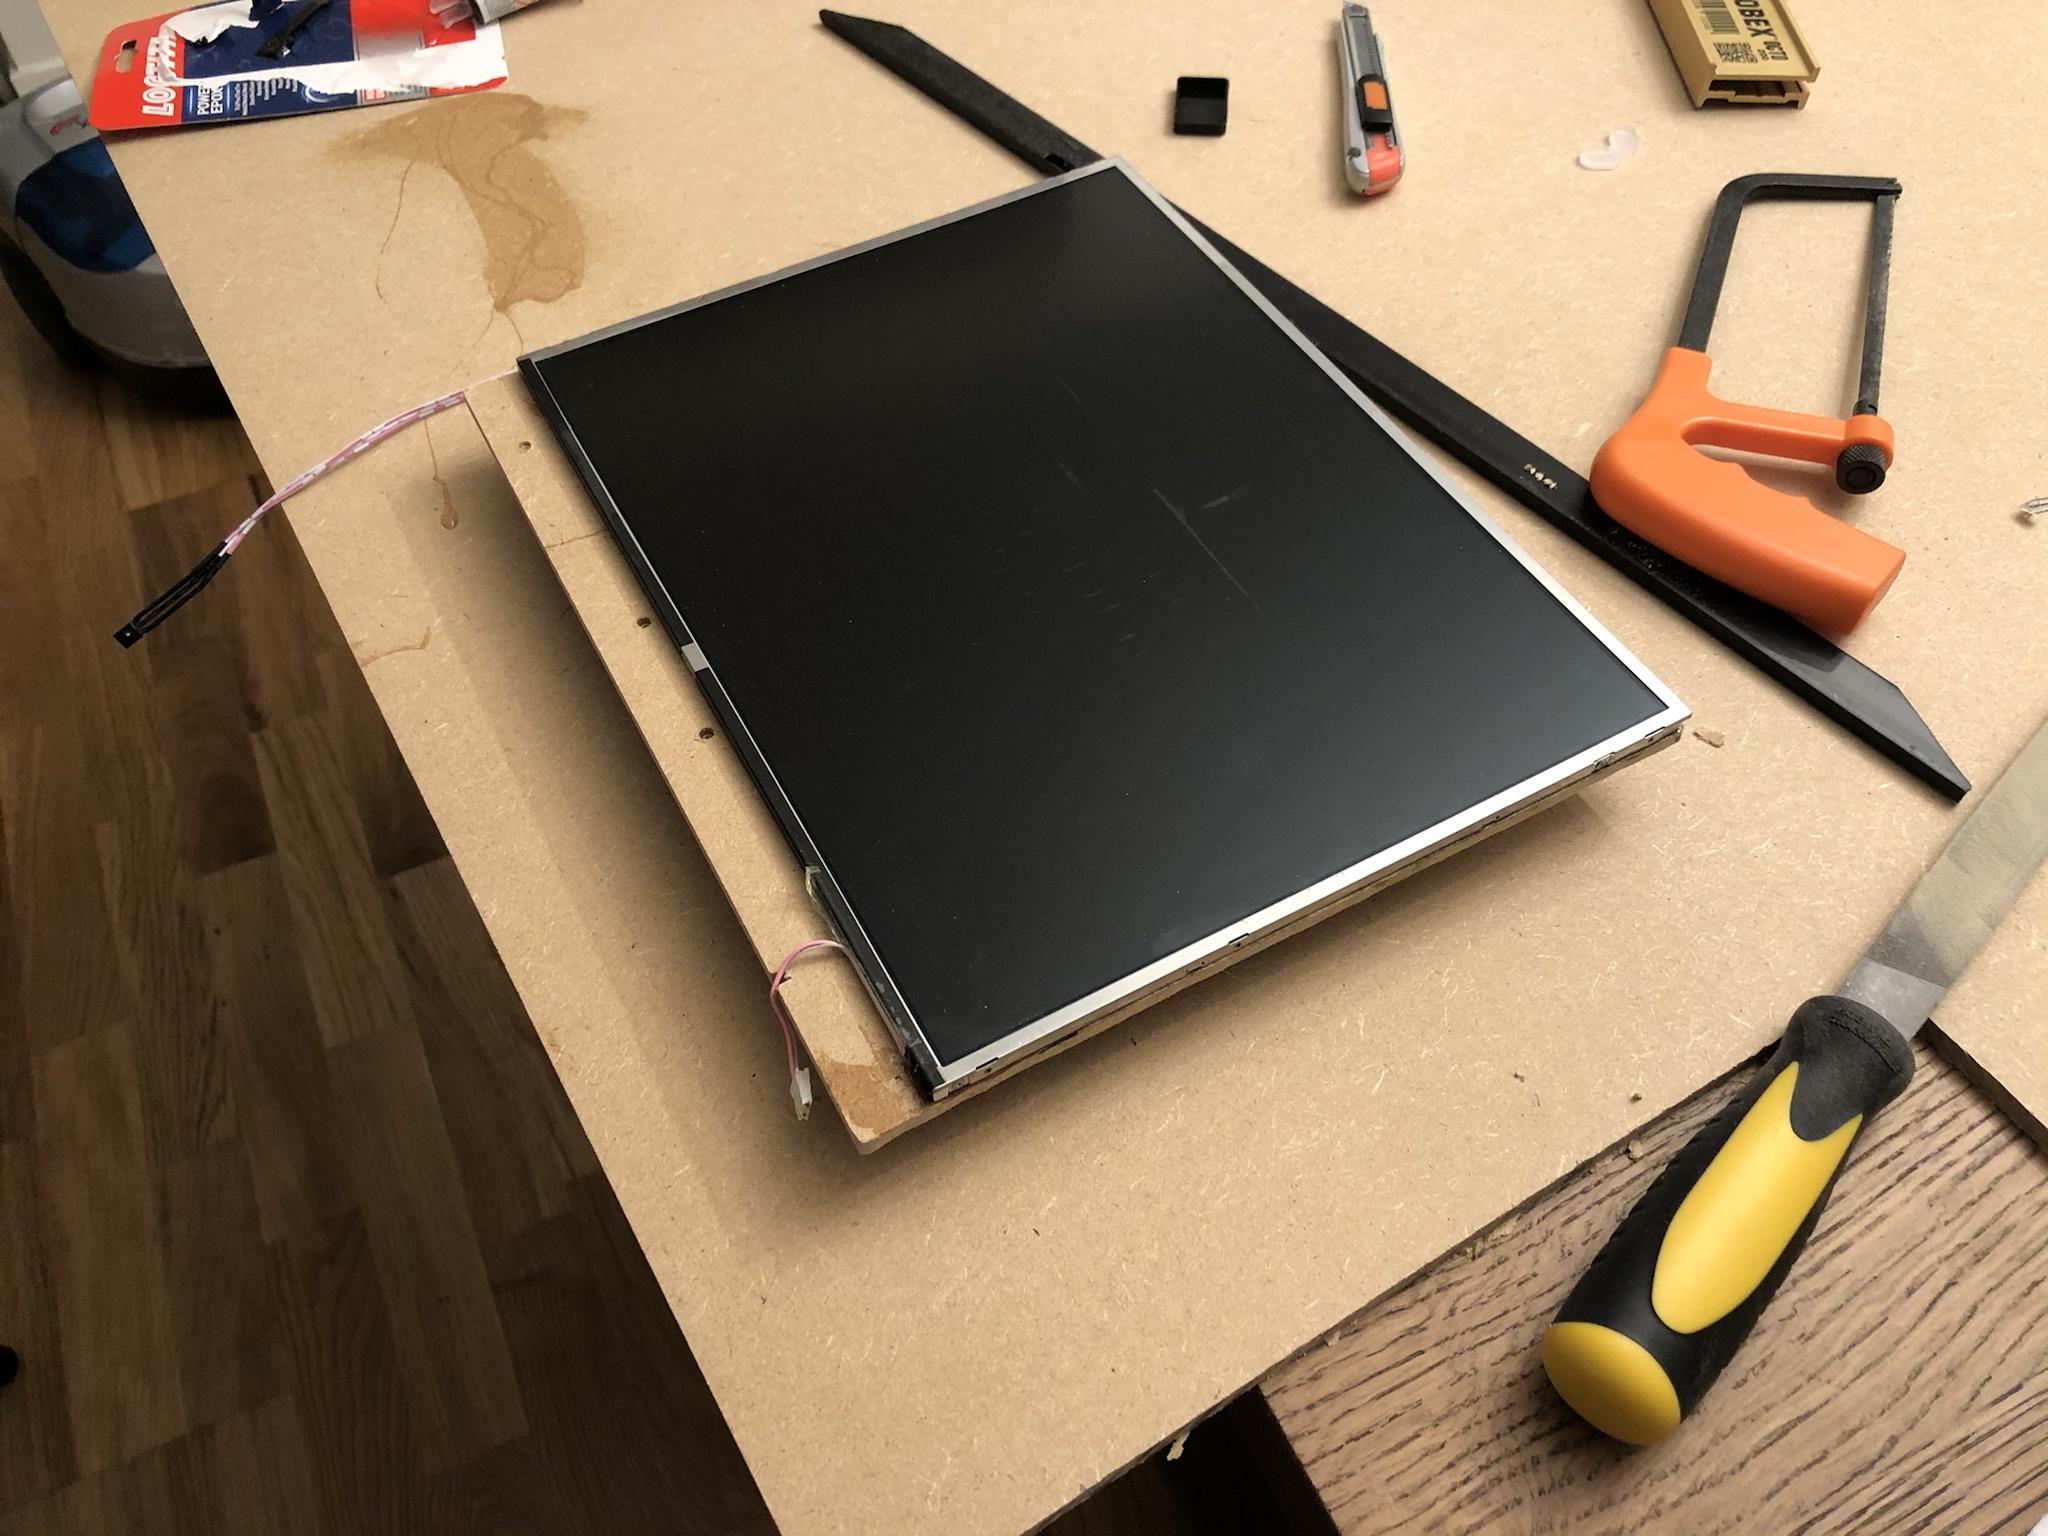
I sawed out the shape of the display with a hand saw and used a dremel to trim the edges. My kitchen floor, my hair and my clothes were covered in sawdust.
Then it was just a matter of connecting all the cables, and gluing the display onto the board with epoxy. I made a mess and there is an epoxy stain on the front bezel now.
With the panel glued tight, I tested the display with my C.H.I.P. over a composite cable.
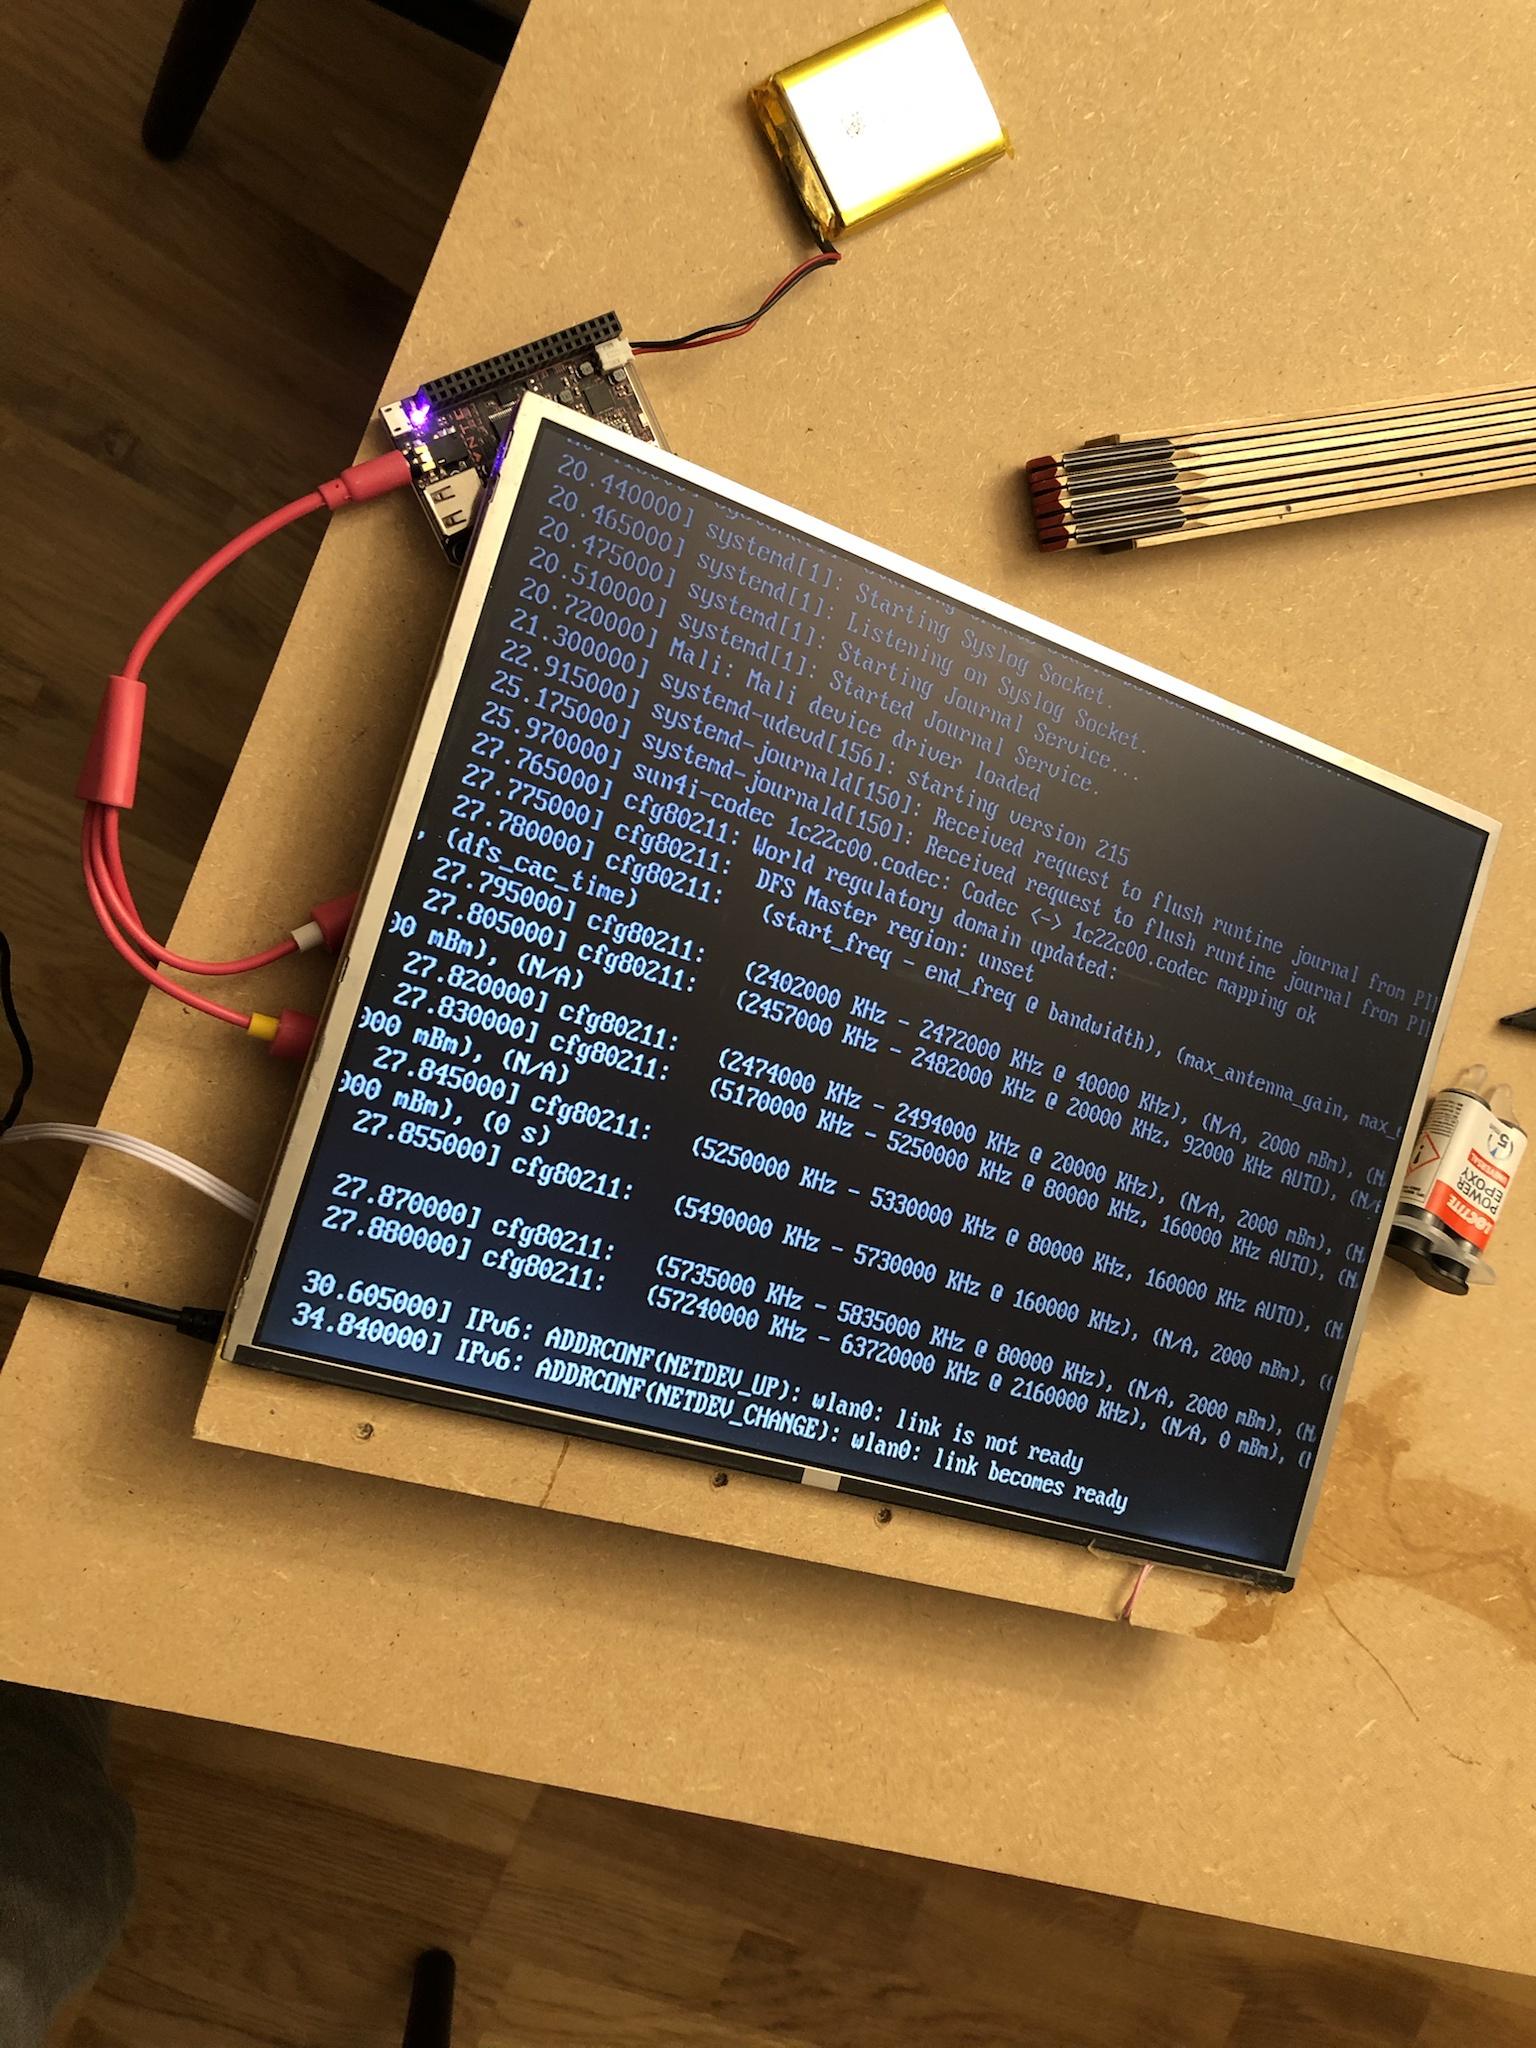
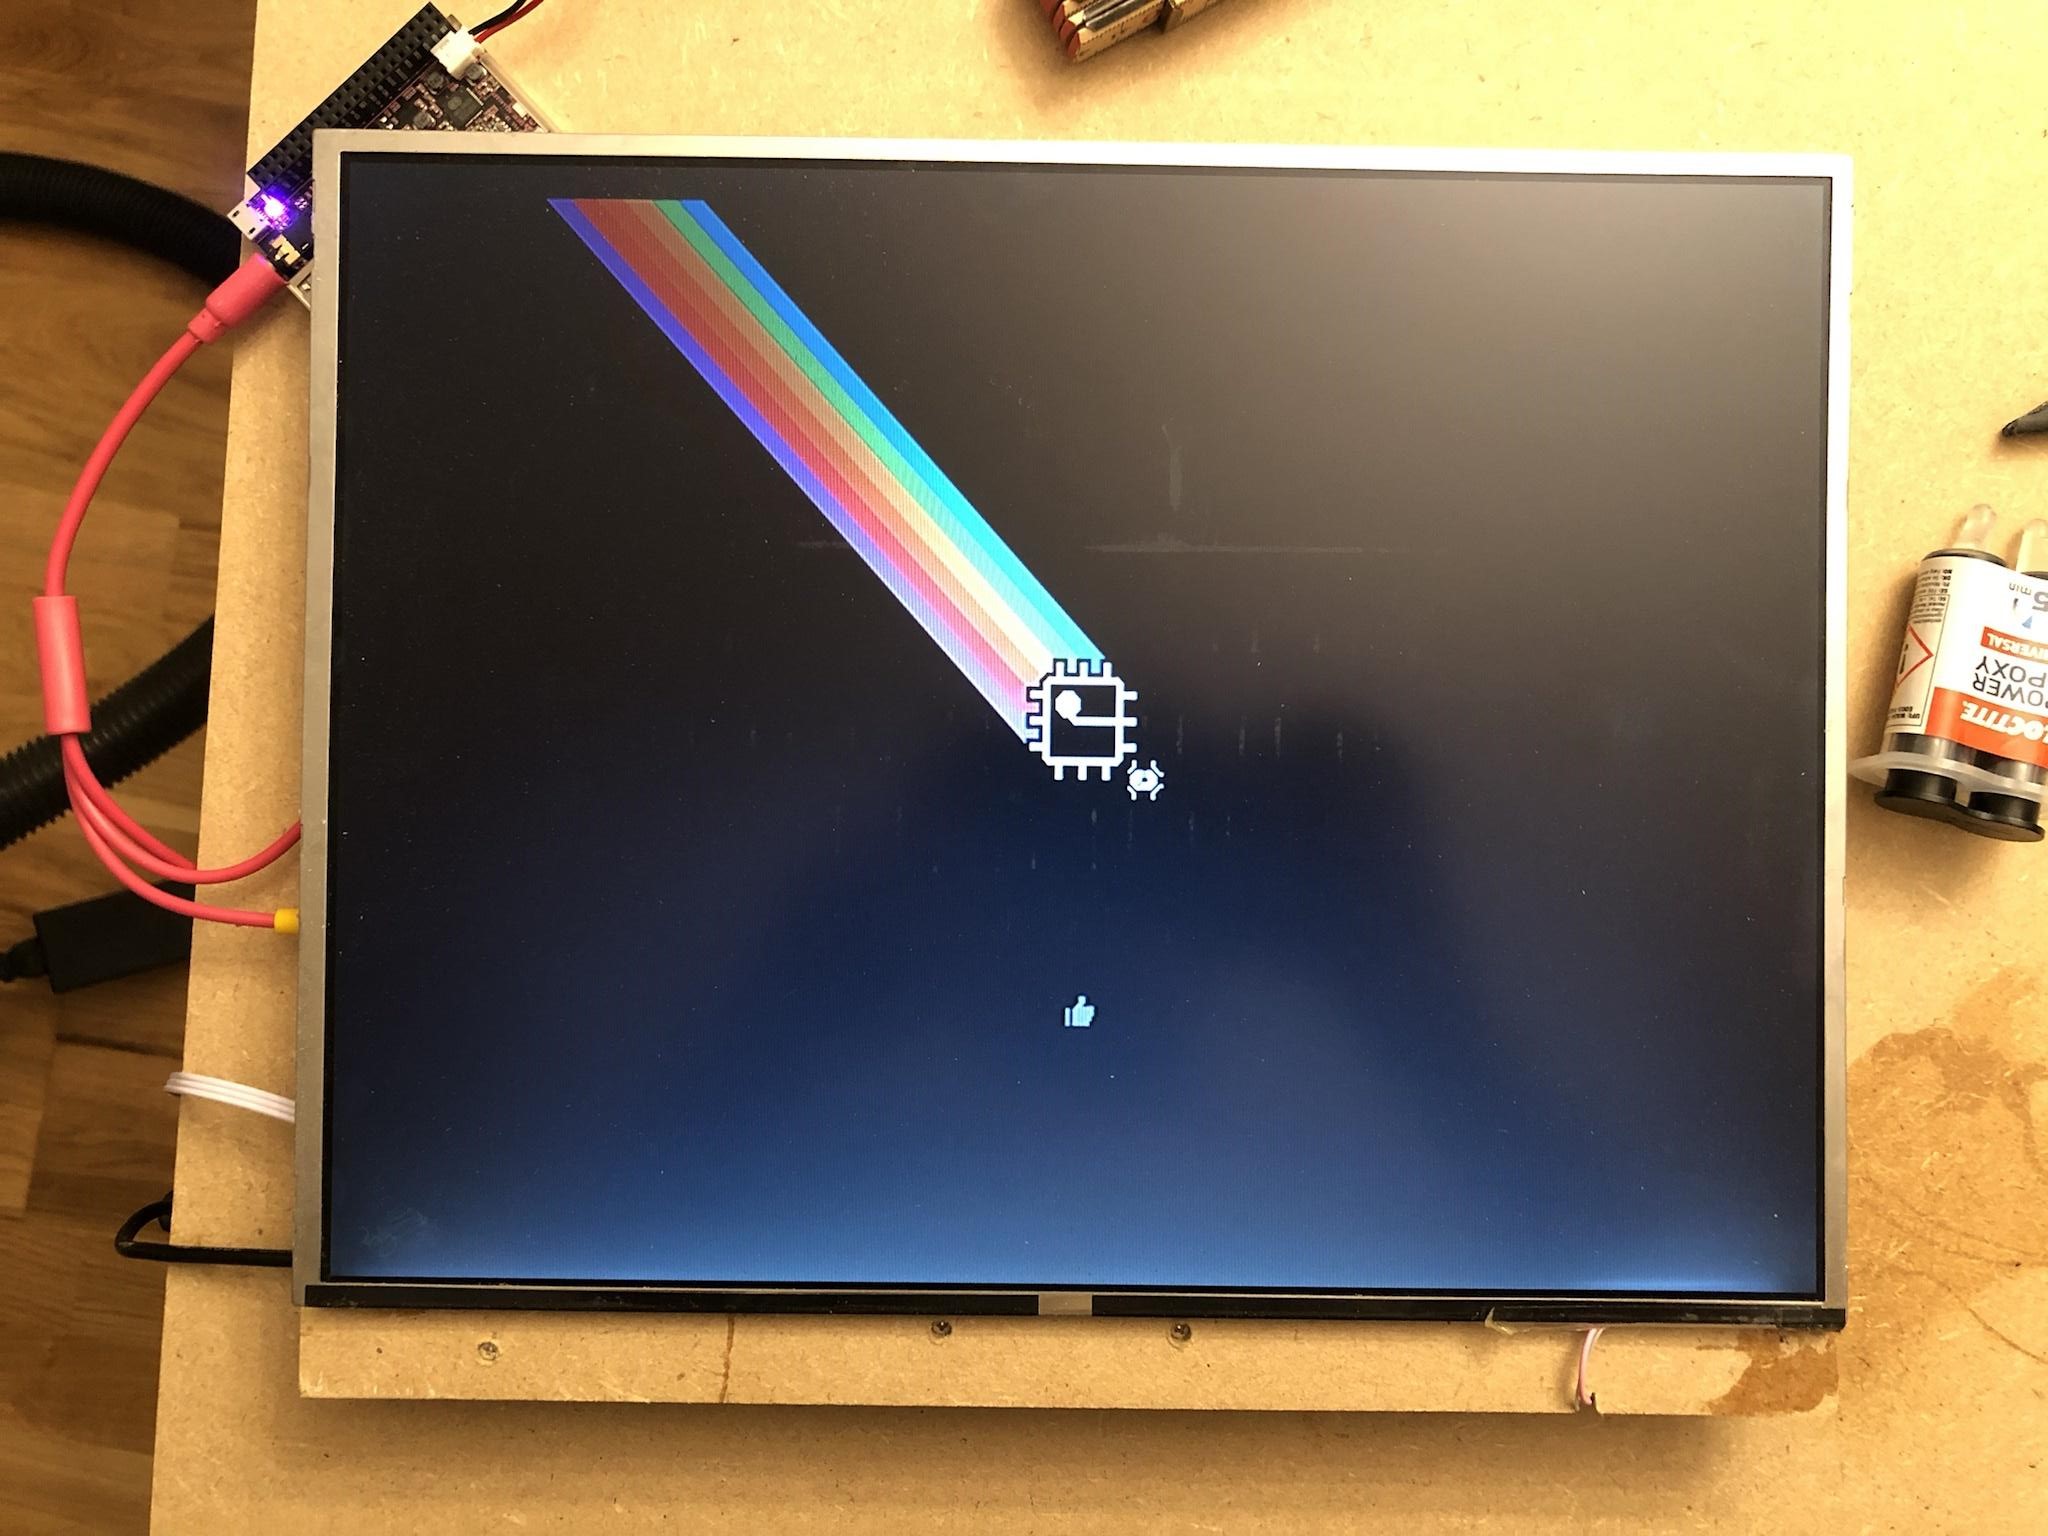
It worked! It’s ugly though, and I still need to make a display stand or VESA mounting bracket. I didn’t like working with a handsaw and dremel to shape the wood, so I’ve ordered a jigsaw online and will continue assembling the monitor once it has arrived. So far, this has been an interesting experience. I’ve learned a lot about building things at home and I’m excited about building more things in the future.